How to Make This Easy Duct Tape Tote Bag With 1 Product
Duct tape crafts for perfect for kids and adults alike. Don’t miss these directions for how to make a duct tape tote bag. It’s the perfect tote for carrying books, beach gear, or your everyday essentials. It’s so easy to make and everyone will ask how you made your DIY duct tape tote bag!

I love creating things.
There is nothing quite like the feeling when you hold a finished project in your hands. Especially when you gather the supplies together and stare at them for what seems like hours trying to decide what you are going to make.
When I saw this:
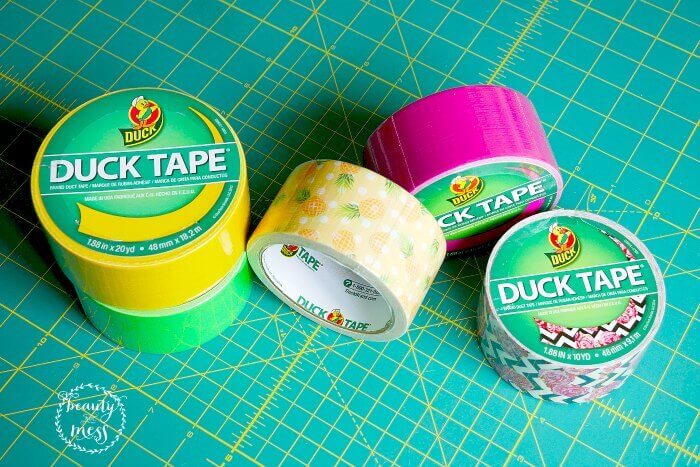
I wasn’t really sure what was going to be created.
I texted my friend and told her I needed a teenager to help me out. Ha!
Then, it hit me:
ALL THE POSSIBILITIES!!!
I could make a duct tape wallet. Maybe a duct tape makeup bag. Instead, I decided on a duct tape tote bag and it was perfect.
How to Make a DIY Duct Tape Tote Bag
I decided to try my hand at a Tote Bag to hold books {or diapers and wipes}. It would also make a great beach bag since it’s waterproof!
Honestly, I thought it was going to be a lot harder than it really was. Yay for easy projects with kids!
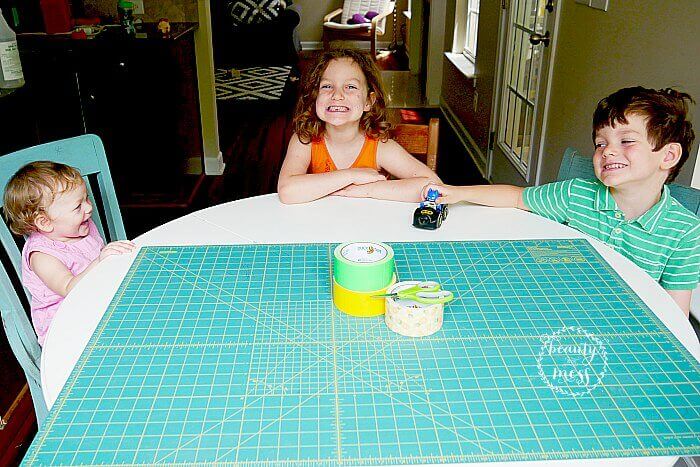
These were my helpers. They LOVED this project, especially working with DUCK TAPE.
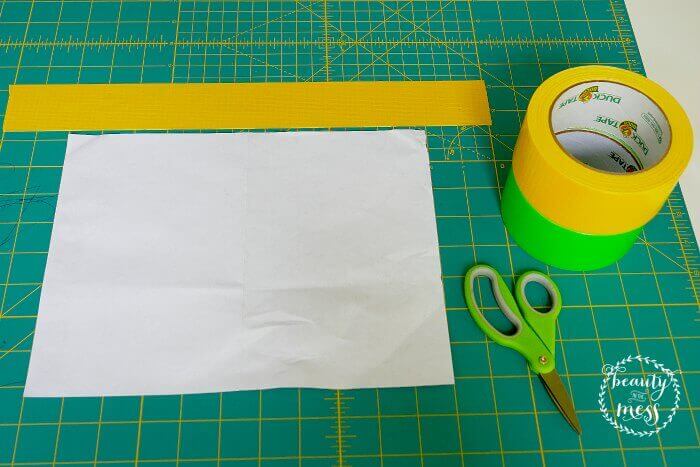
1. First, you need to figure out how wide you want your bag.
I did 15 inches across so I can fit in school workbooks.
This part is GREAT for kids to help with. Let them measure the length and either cut the strip off the roll or tear it off. My kids had an easier time cutting, but it was easier for me to tear.
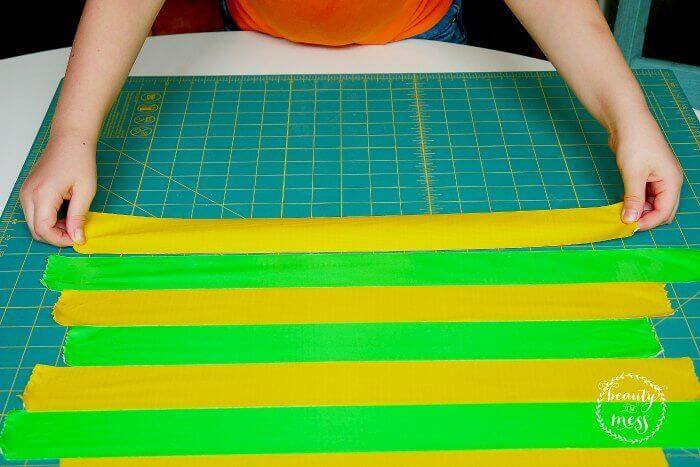
2. Decide on your pattern.
We alternated colors. Make sure a tiny bit overlaps so they connect to each other. You can also use a plastic bag as a template and put the tap directly on the bag. I didn’t do this, but I wonder if I had if it would have been smoother.
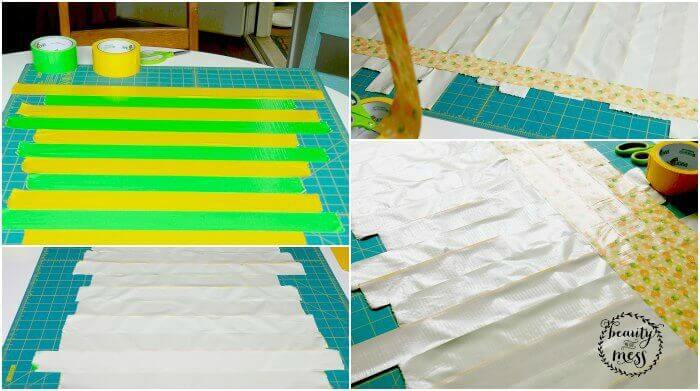
3. Choose how big you want your duct tape bag.
You can make your bag as long or as short as you want. After you reach your desired height, CAREFULLY flip the sticky sheet over. It is in this moment that you will wish you had used a plastic bag. You will also find out if each strip is attached to the next.
This will either go smoothly or you will have to redo some of the sections.
Just breathe :).
4. Choose your coordinating tape.
Once you have it flipped over and all is right in the world once again, it’s time to use your coordinating tape.
5. Cut the edges so everything is even.
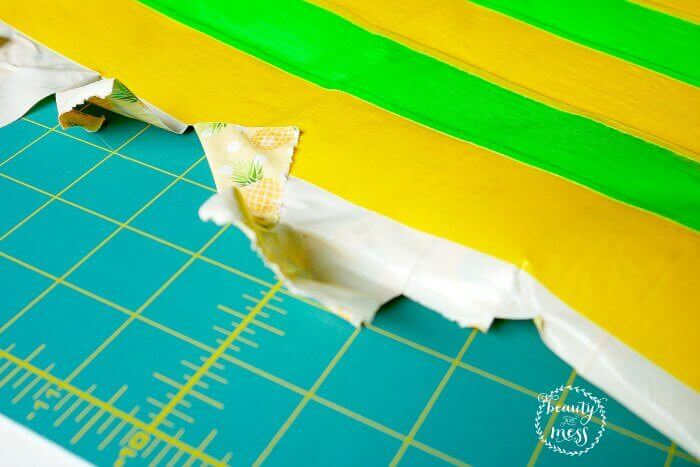
When you have edges that are openly sticky like this, fold them so they aren’t quite so sticky. I had a couple of close calls when I was trimming the excess tape off the edges.
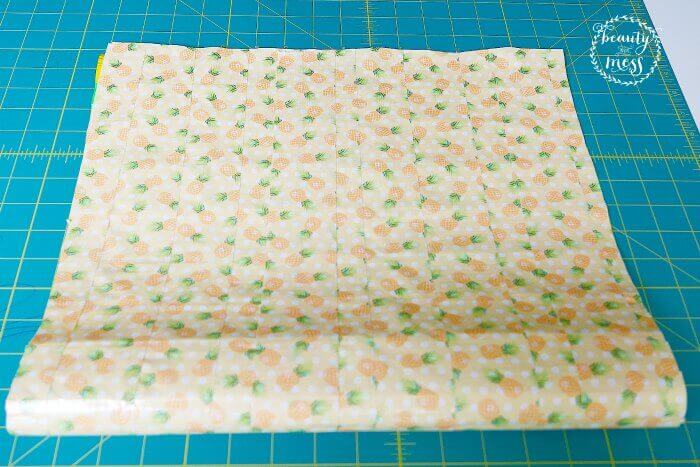
6. Fold your trimmed rectangle and put the edges together.
7. Tape the sides together.
8. Push the bottom corners in until they look like this:
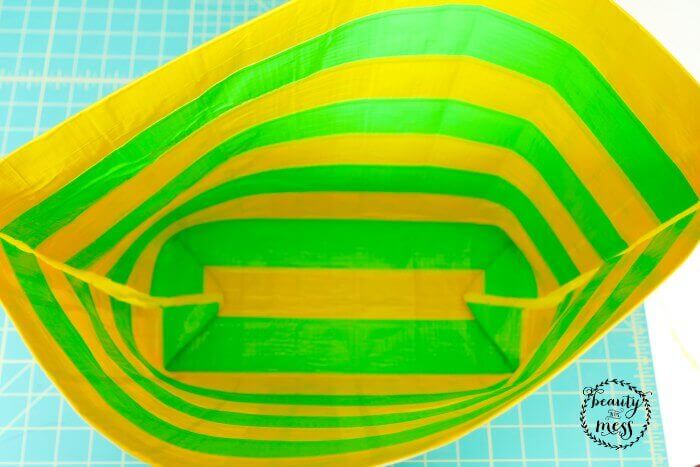
This way you can hold more stuff in your bag. Plus it sits up well!
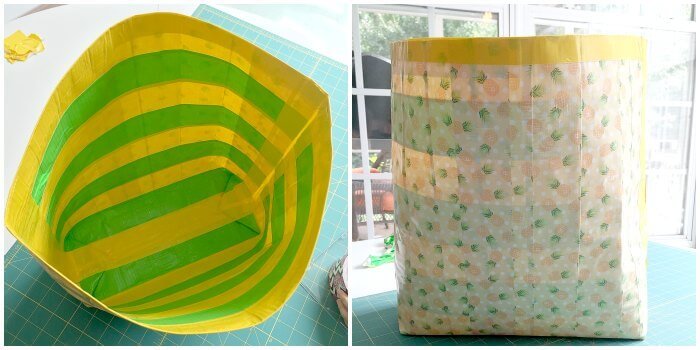
Isn’t she lovely?! I was super impressed!!
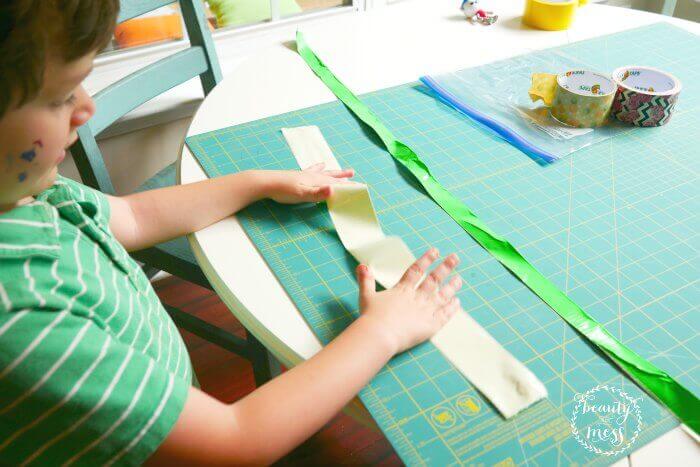
He’s trying to help me fold the duct tape to make straps for my new DIY duct tape tote. Really, he was just playing. Ha!
To keep it simple, I folded the piece of tape over once. It was easy.
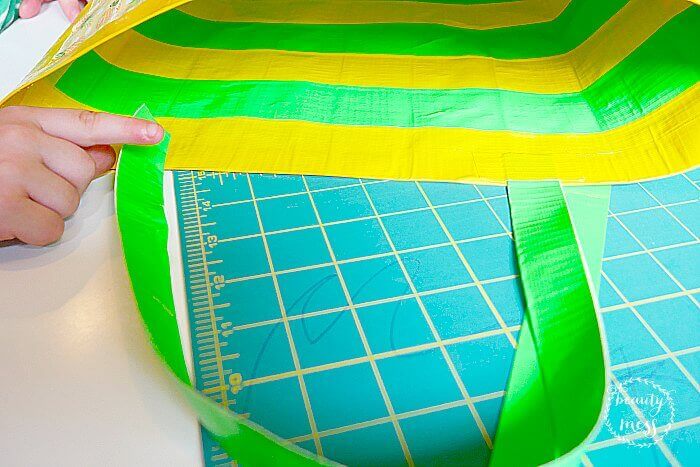
Then you just tape the straps to the inside of the tote!
Duct Tape Crafts
Duct tape crafts offer a world of creative possibilities! 🎨🔧 From fashion accessories to home decor, these versatile and colorful tapes can transform into just about anything your imagination desires.
Crafters of all ages can enjoy making duct tape wallets, keychains, and phone cases that showcase their unique style. Spice up your school supplies with duct tape-covered notebooks and pencil holders. Create vibrant flowers, bowties, and even party decorations for special occasions.
The best part? Duct tape crafts are not only fun and affordable but also incredibly durable. So let your creativity run wild and start crafting with duct tape today!


