Cricut EasyPress 2 | Make This Cute DIY Be Mer-Mazing Tote Bag
Channel your inner mermaid and just keep swimming and spreading joy with this mermaid-themed tote bag using the Cricut EasyPress 2 and Cricut Infusible Ink.
One of the things I've been super excited to try is Infusible Ink with the Cricut EasyPress 2!
Years ago I made t-shirts using iron-on vinyl and while they turned out great, I didn't love how they felt on. But the Cricut Infusible Ink! It's a game-changer.
Did you get a chance to make the Make Your Own Magic mug? It's still one of my favorite projects for beginners.
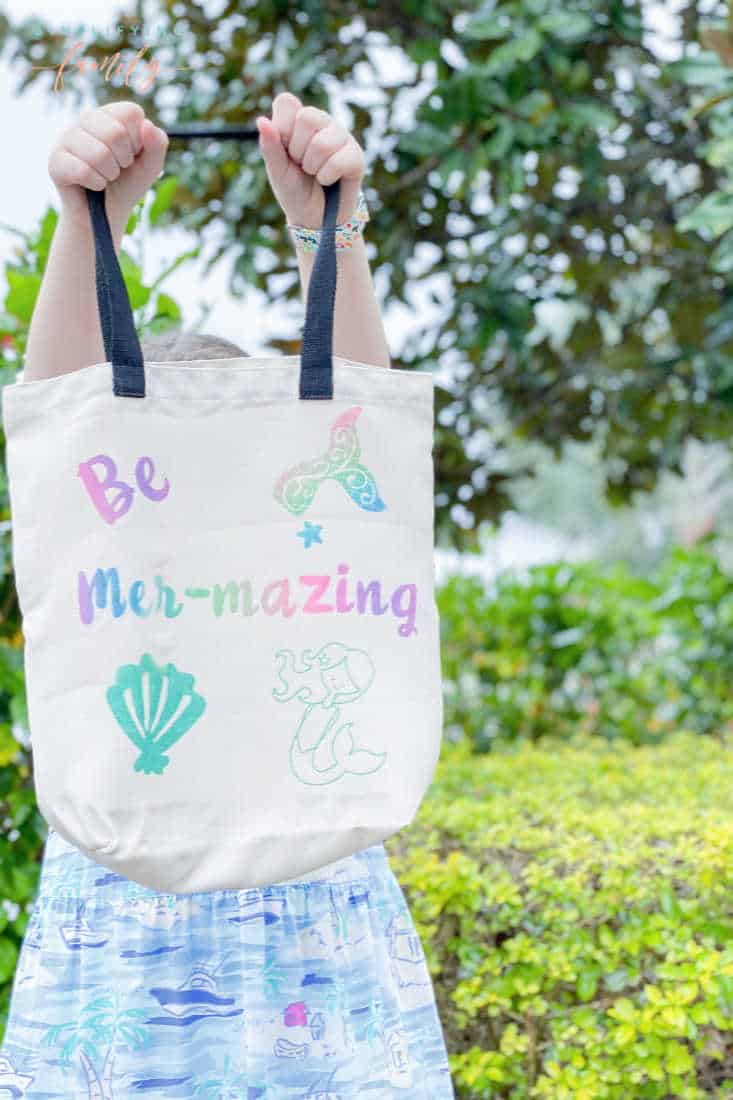
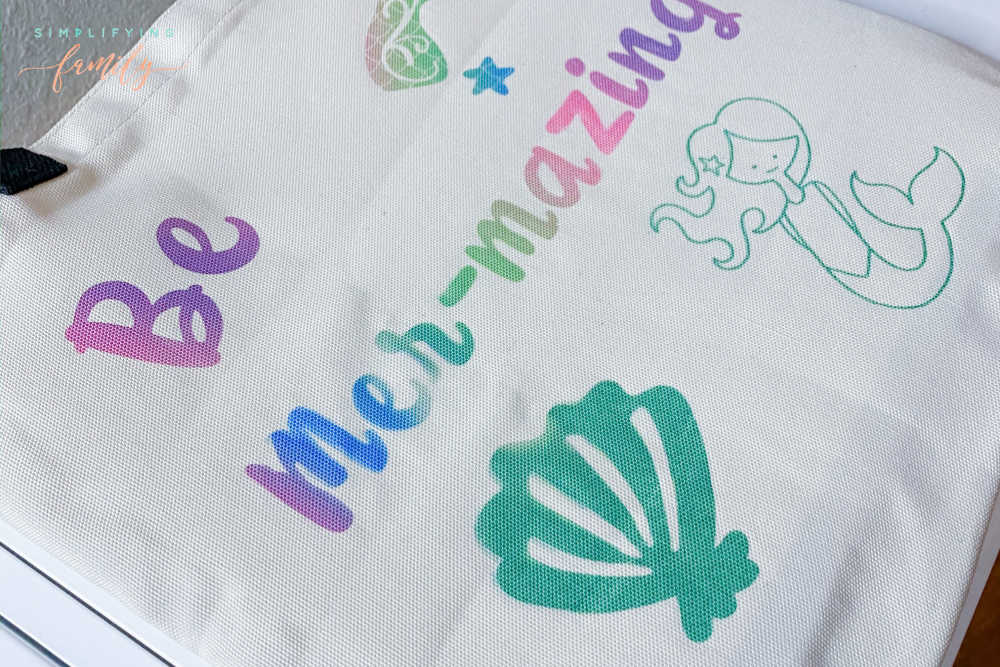
Be Mer-Mazing Tote Bag Using Cricut EasyPress 2
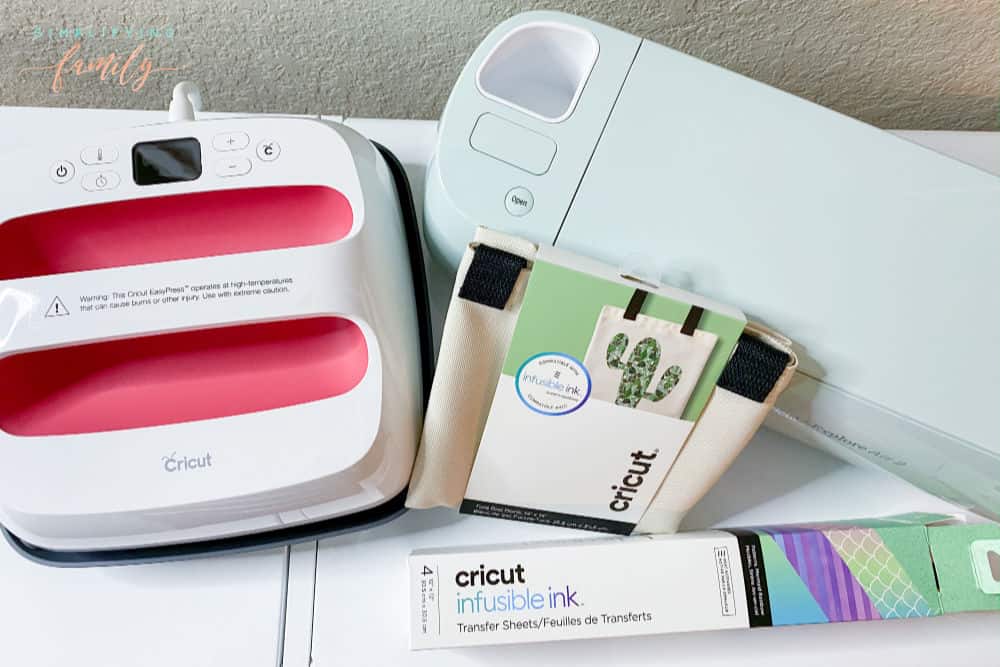
What You Need
weeder
Cricut Tote Bag
Standard Grip Mat
How We Created Our Own DIY Tote

For the Cricut EasyPress 2 project, I let my oldest take the reins. While I can't suggest they use the actual machines, designing the project and weeding the Cricut Infusible Ink sheets is perfect!
My oldest has been talking about creating a tote bag for months now. She loves all things mermaids and knew she wanted to create something that has to do with mermaids. Thankfully, Cricut has lots of mermaid images to choose from!
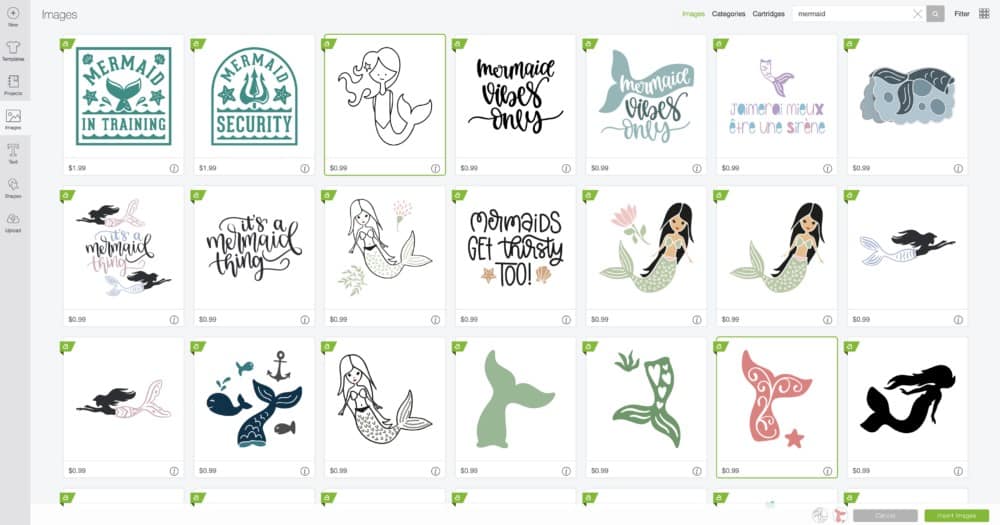
Once she picked out the images, she came up with the saying and layout using Cricut fonts and images.
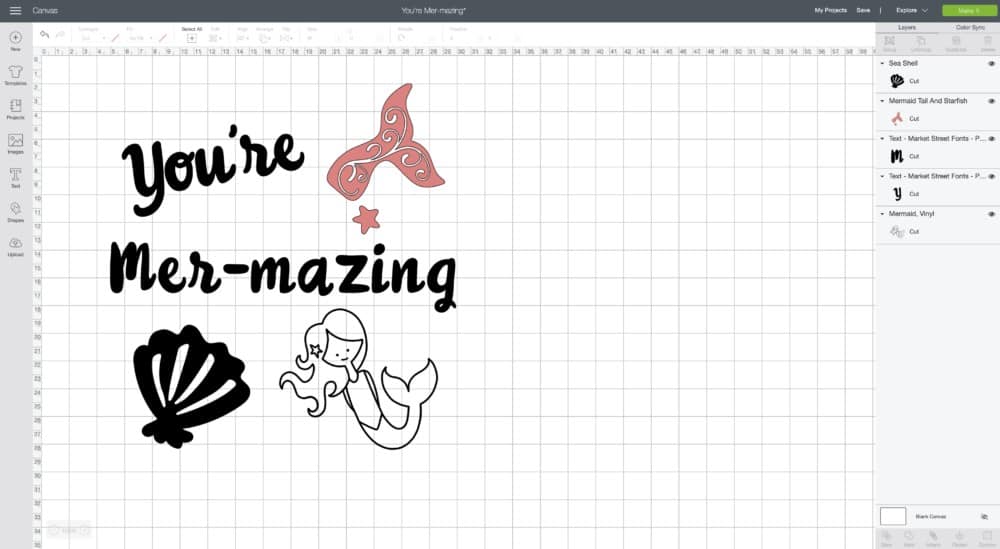
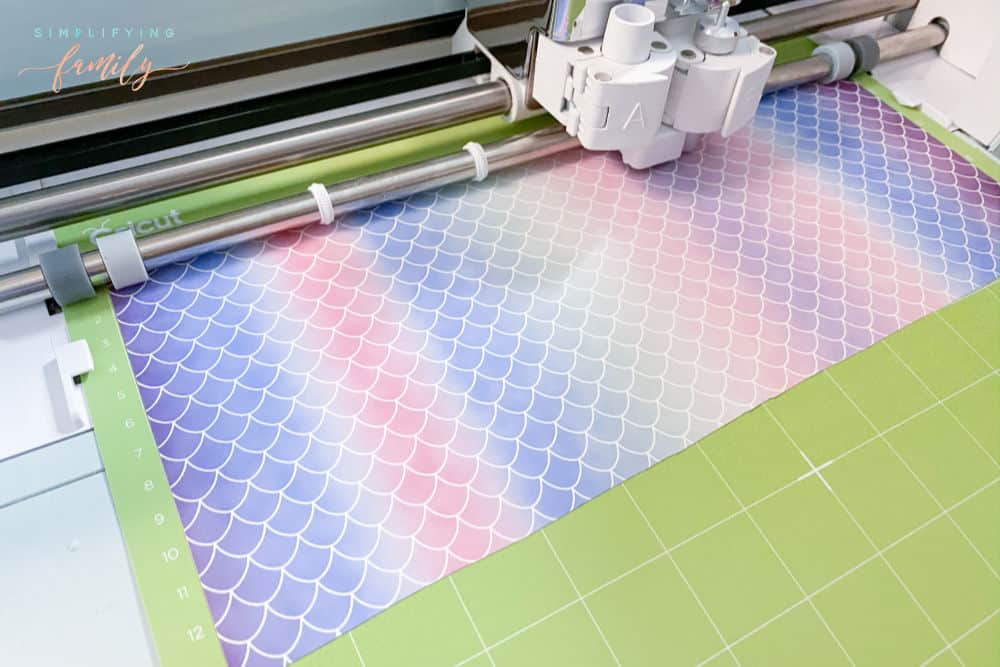
Once that was done, we got the Standard Grip mats and Infusible Ink sheets ready to be cut.
DO NOT FORGET TO MIRROR YOUR IMAGE.
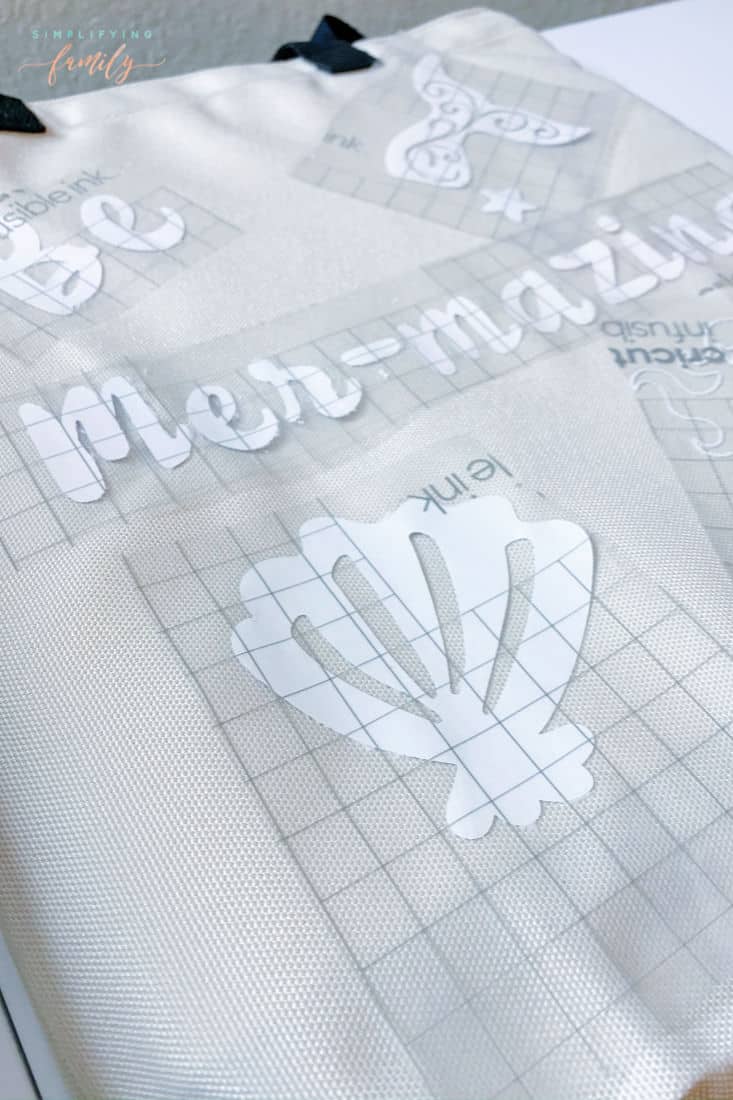
How to Use Cricut Infusible Ink Sheets
This is when it gets tricky. YouTube videos are your friend. We had some trial and error too. It's all a learning process.
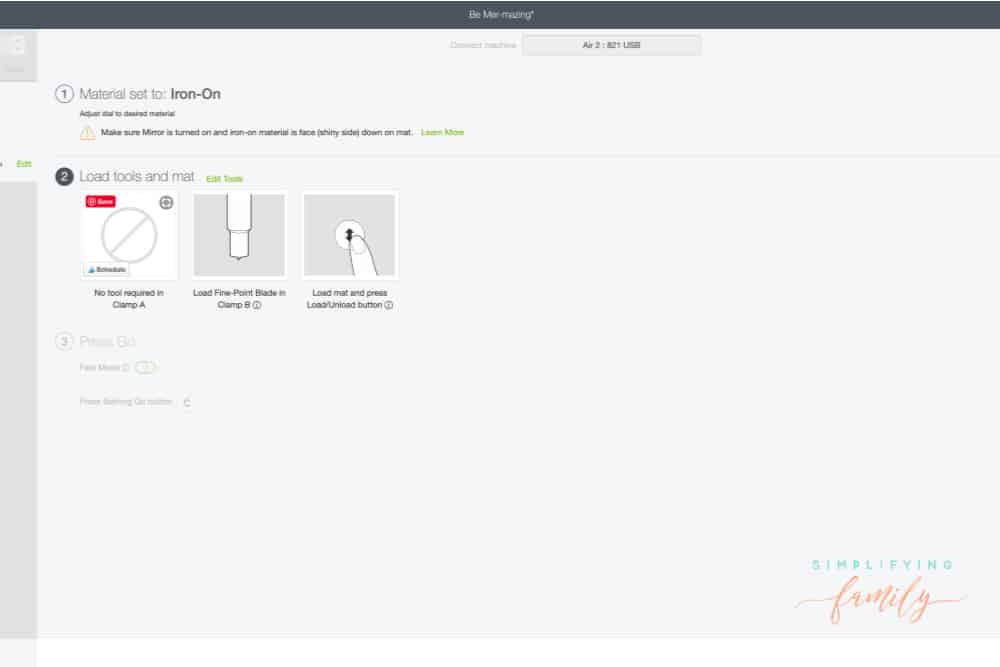
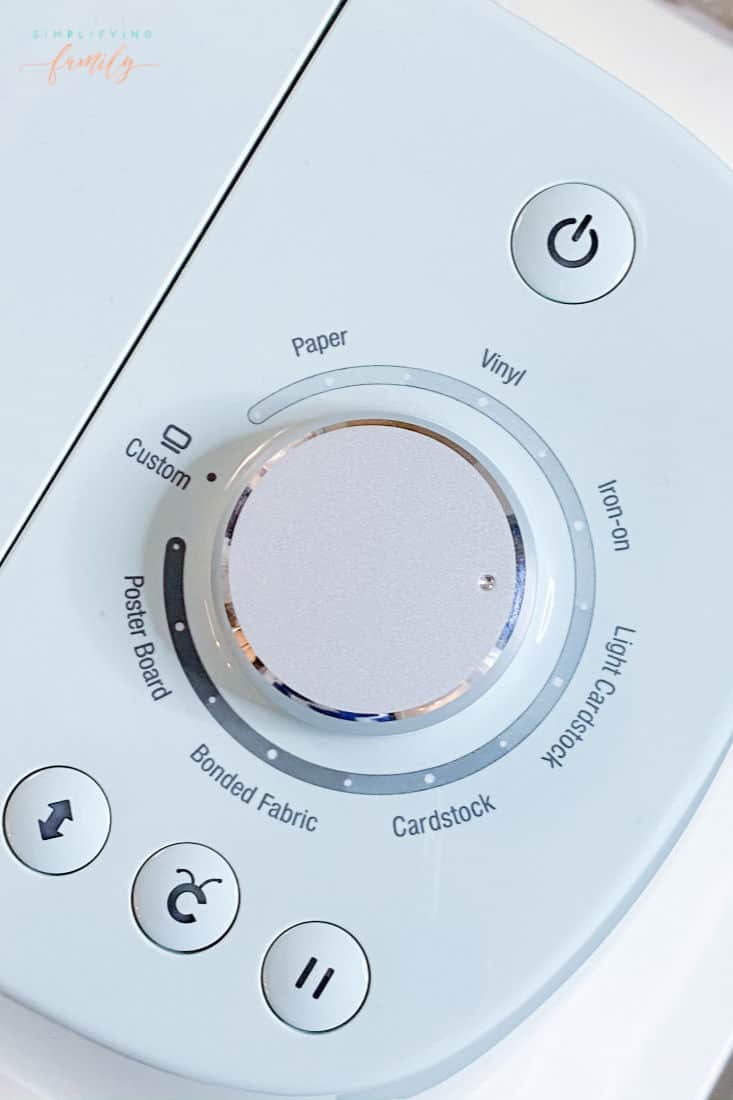
While I knew that the cutting dial needed to be on Iron-on, I wasn't sure which dot. The first time we used the straight-on Iron-on setting and it didn't cut deep enough to weed properly.
Next, we tried the next dot over and it was MUCH BETTER.
Weeding the Infusible Ink Sheets took time. LOTS of time and patience. This weeder is a must.
How to Use the Cricut EasyPress 2
Cricut has made using the EasyPress 2 SO EASY. They took all the guesswork out of using the machine. I love their tutorials!
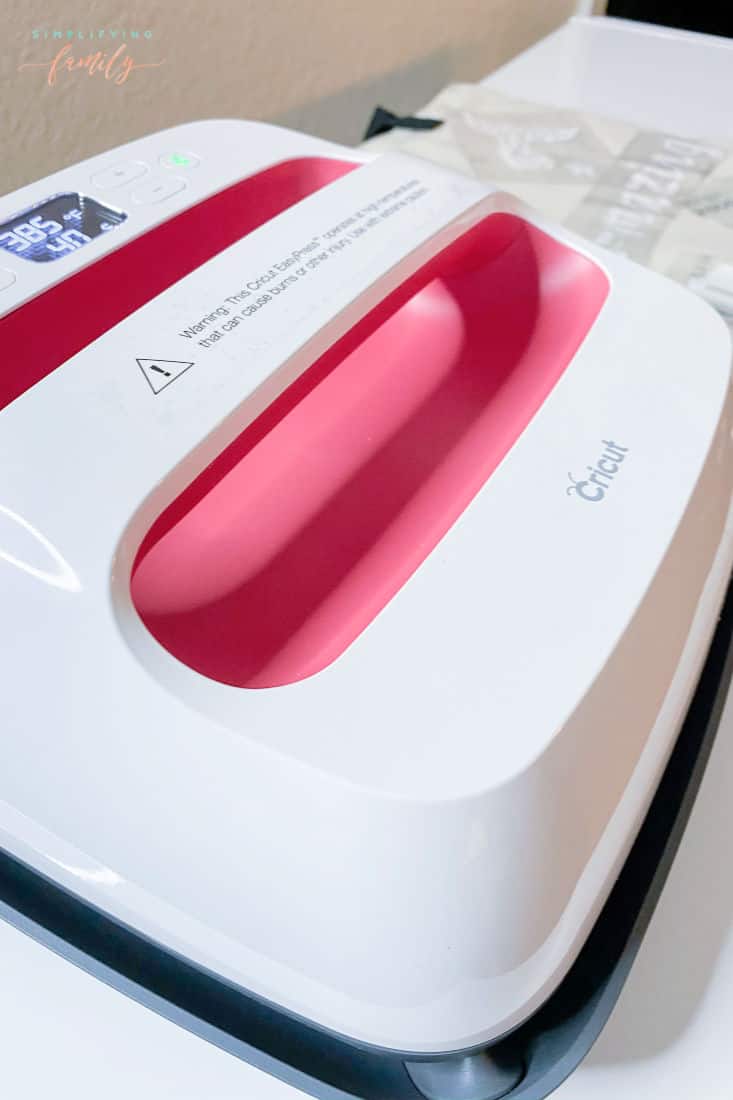
Bookmark the Heat Guide so you know what settings you'll need to use for your specific project. Don't forget to use their stacking guide!
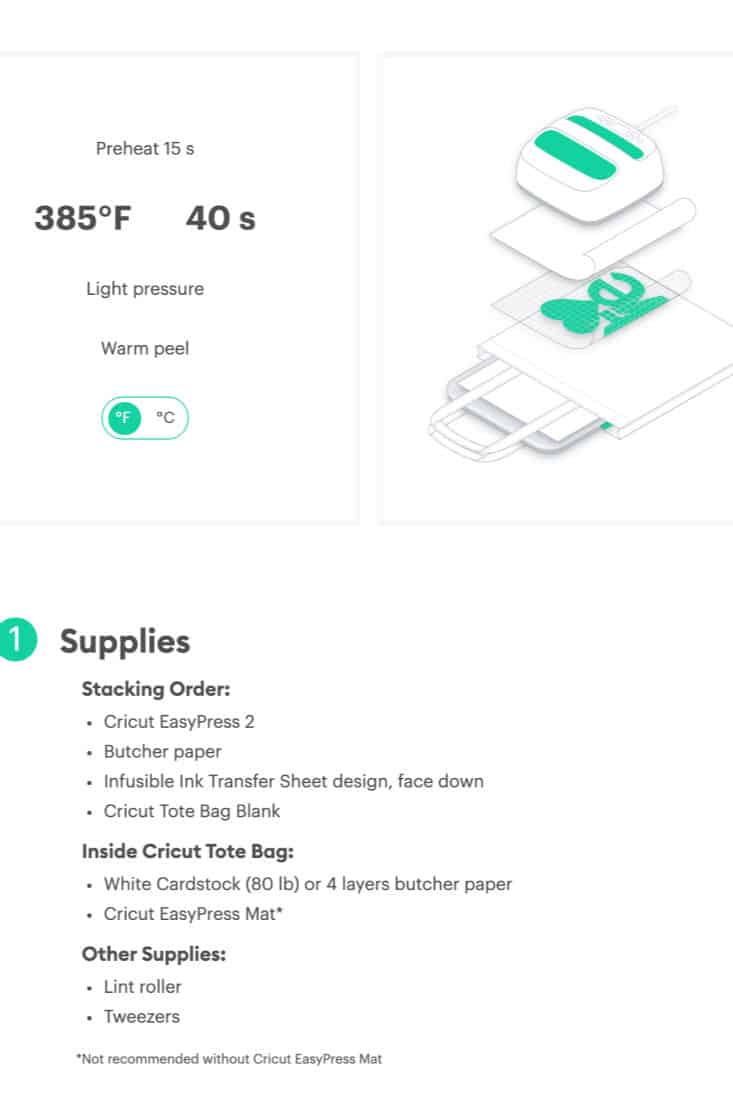
They made the process so quick. The Cricut EasyPress 2 counted down to let me know when it was ready to move to a new section.
I love how easy Cricut makes it to take an idea and turn it into a project.
My oldest loves her finished project!
We learned so much along the way. I know that our next one will be even better.
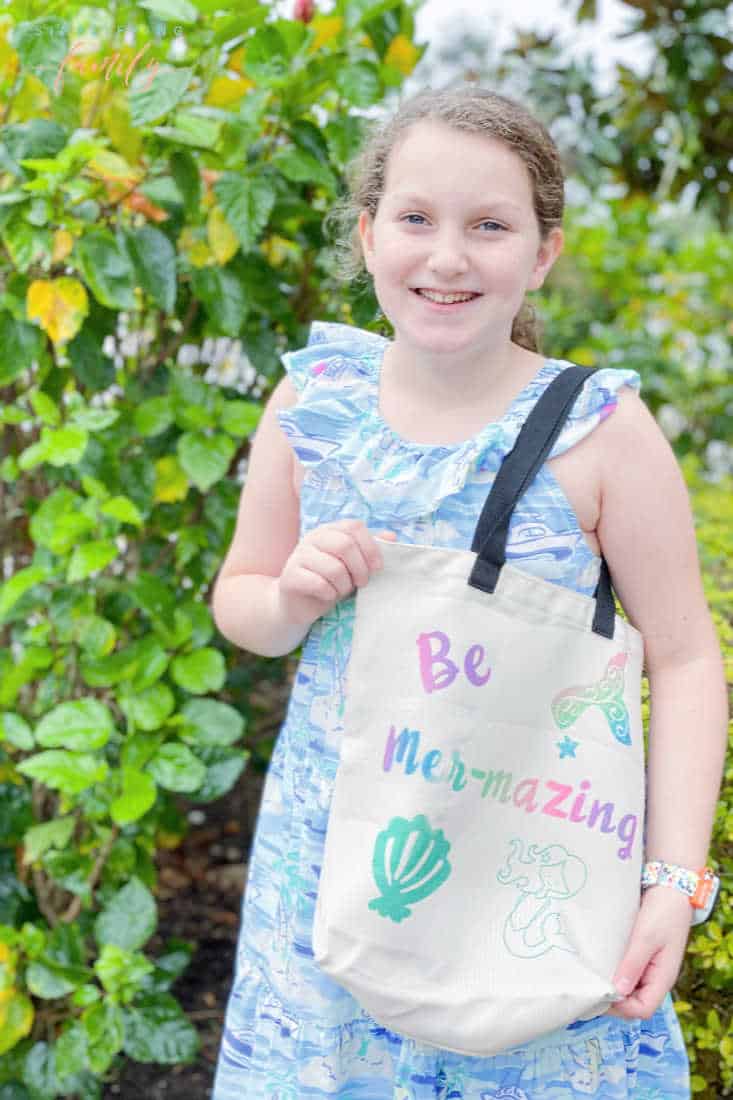
The most important thing was getting to spend time with my oldest helping turn her idea into something she can use.
That is priceless.