Simple and Rustic Fall Wreath For Your Front Door With Only 4 Items
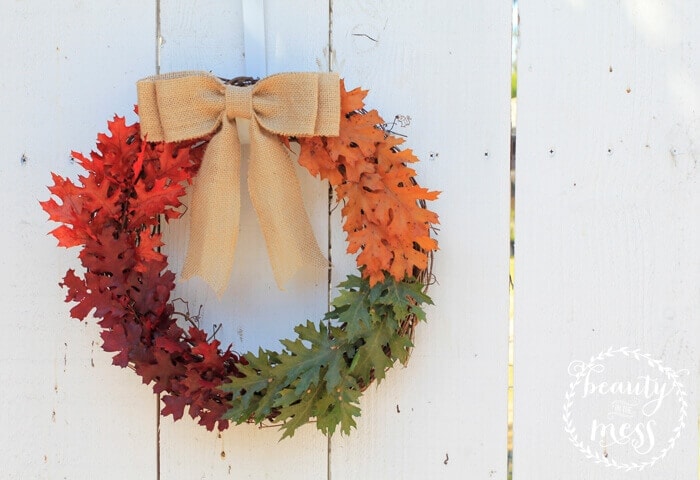
With this easy tutorial for a rustic fall wreath, you can bring the colors of fall to your home, no matter where you live!
I grew up not really having a favorite season. But all of that changed when I lived in Germany for one fall semester during college.
It was absolutely gorgeous, and I came back a different person.
My most comfortable outfit suddenly consisted of a sweater, boots, and a cozy scarf. I savored the chilly moments I spent roaming cobblestone streets. And I loved how it felt to wrap myself up in bed while sipping hot chocolate and listening to the sound of rain spattering against my window.
I didn’t know it then, but I would forevermore be spoiled when it came to experiencing fall.
I currently live in West Los Angeles. As much as I love it here, I’m the first to admit that it’s lacking in the seasonal colors department.
So today I am so excited to share with you an easy and affordable tutorial for making a rustic fall wreath. You can bring the colors of fall to your home, no matter where you live!
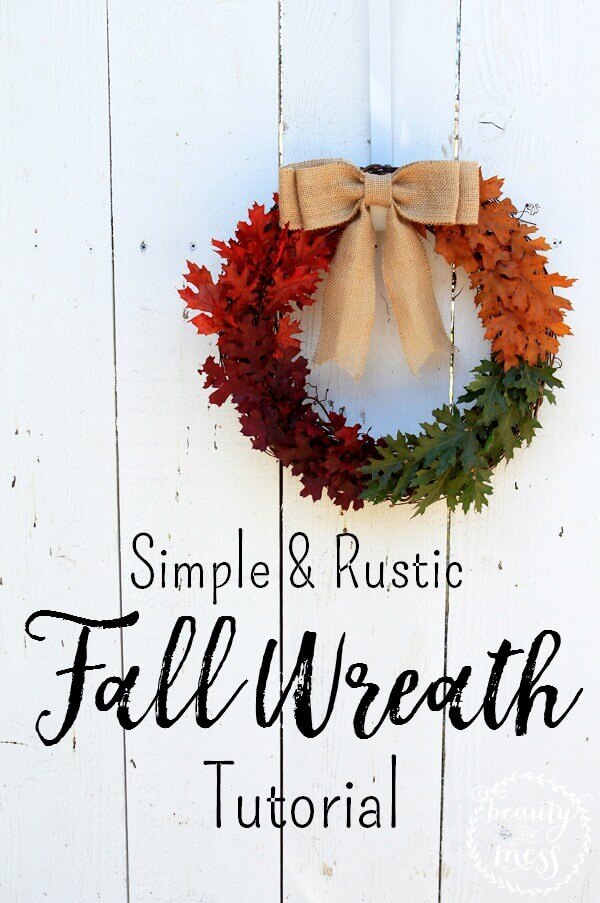
How to Create a Simple and Rustic Fall Wreath
This fall wreath project only took me a few hours to complete and it can cost as little as $10.
SUPPLIES LIST
- Grapevine Wreath (reg. $5- used coupon & got it for $2.50)
- Faux Colored Leaves (reg. $13- on sale for $6.50)
- Burlap Bow ($1 for the amount of ribbon I used)
- Hot Glue Gun & Sticks ($1 for a few sticks)
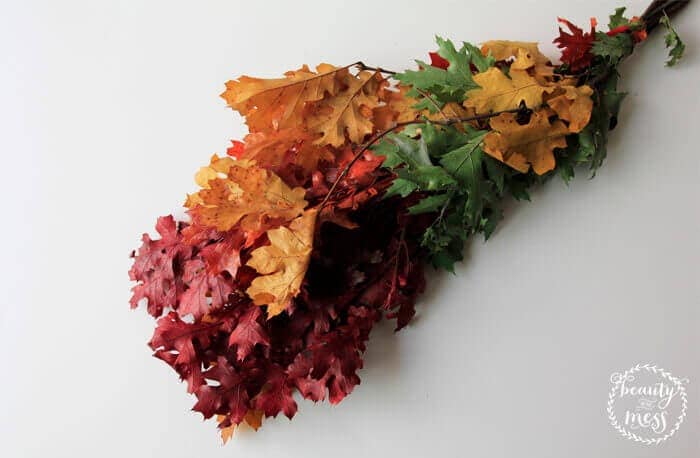
These are the faux leaves I found. Aren’t they lovely?! As soon as I saw them on the shelf, I knew I had to incorporate them into my wreath somehow. Little did I know that they’d steal the entire show!
1. Decide on the layout of your wreath
Do you want the colored leaves to be mixed together? Do you want them to be in sections, in a certain order? Try experimenting with all the different possibilities to see if anything in particular stands out to you.
This step usually takes the longest amount of time for me, because I have a tendency to want everything to be perfect.
Now is also the time to put together your burlap bow (if you want to have one, and are making it on your own.) This is the tutorial I used if you’re not sure where to start!
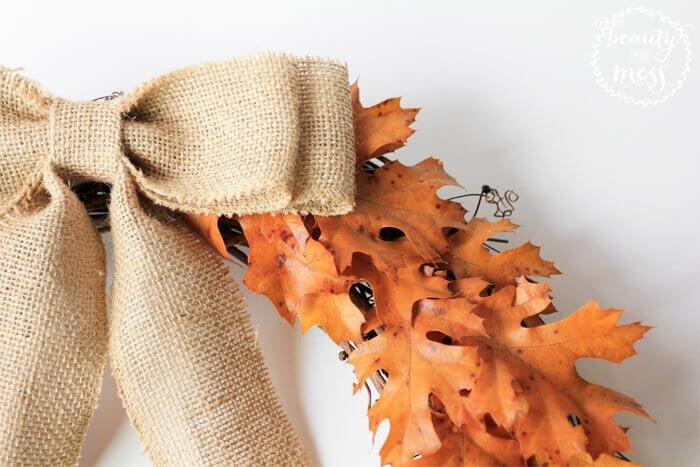
2. HOT-GLUE AWAY
Once you know where you want your leaves to go, start hot-gluing them to your grapevine wreath.
This is the fun part… until you get burned like I did. But oh man, it was so worth it.
I recommend starting at the top and working counterclockwise. I did it that way to ensure that the unattractive dab of glue on one stem would get covered up by the next bunch of leaves, and so on.
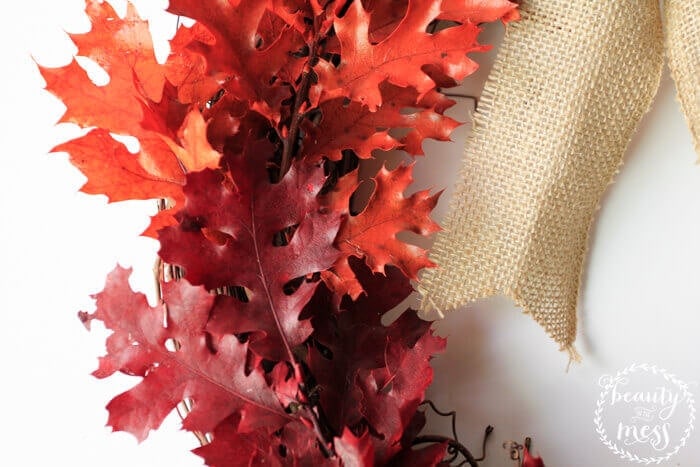
For the most part, I left the leaves on their branches, and this ultimately saved me a lot of time. Trust me when I say that you’ll be thankful you didn’t have to glue on every leaf individually.
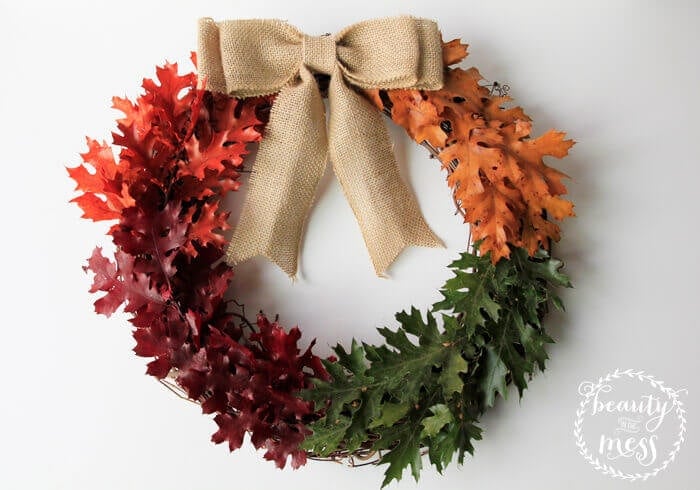
3. Secure Your Burlap Bow
Put on as much hot glue as you want to make sure it’ll stay there for a while. 😉
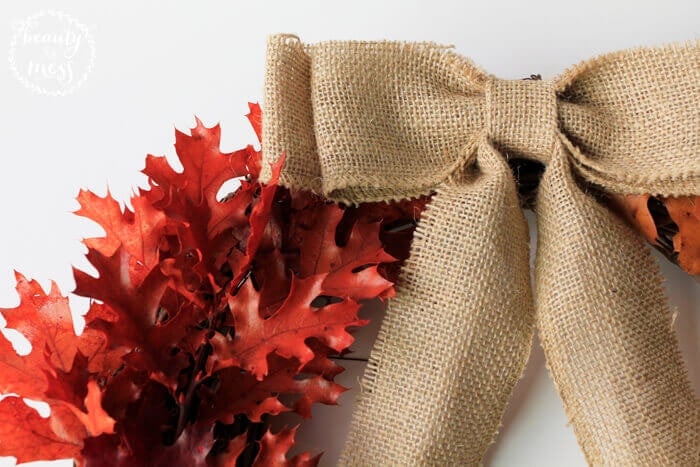
And… that’s it!
I love the rustic feel of this nature-inspired fall wreath, and I can’t believe how easy it is to make.
Once the husband and I are all settled into our new place, I’m looking forward to hanging this on our front door!
This would be a great fall wreath DIY project for a crafting night or get-together for all ages!
What’s your favorite thing about fall?
Need more DIY Crafting Inspiration?
Check out this DIY Wooden Snowflake!
These Mason Jar Lid Ornaments are great for craft night.
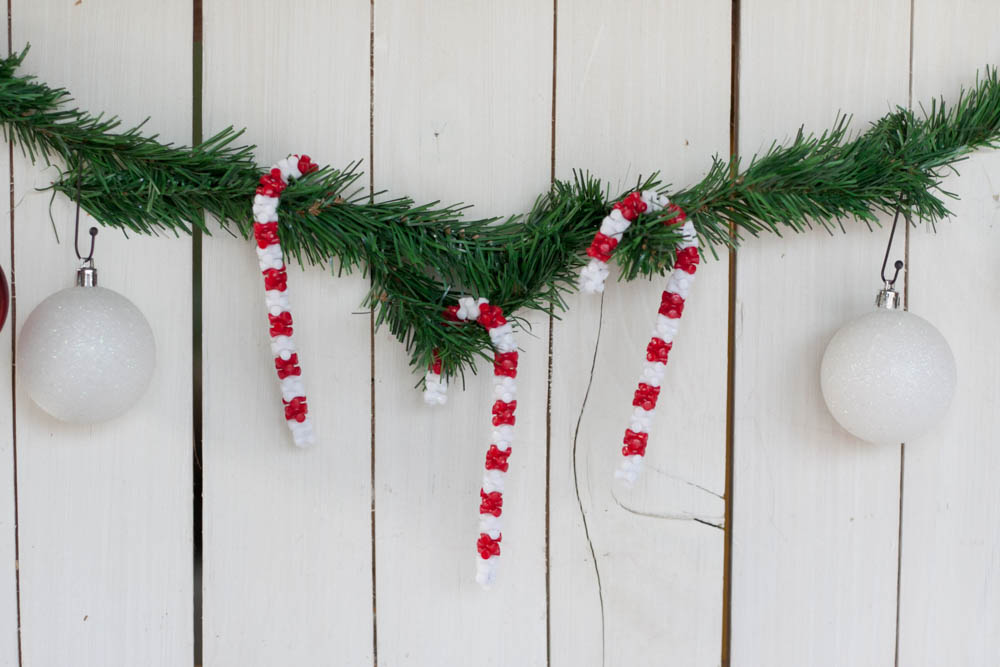
Want something for the littles that they can hang on the tree? These candy cane ornaments are always a big hit! Here’s a list of 28 ornaments kids can make!
It doesn’t get much better than a movie and a craft! Here are some great Disney movies and craft ideas!

Jolene is a wife, DIY addict & cat lover who writes from her home in Los Angeles. She adores everything historical & vintage, and could happily wander through a used bookstore for hours without even buying anything. Grab a cup of tea & feel free to visit her blog, which features unique home decor ideas, DIY project tutorials, and tips on budget living.



So pretty!! I love how you kept the colors together instead of mixing them. It’s a fresh look!