Easy Glitter Snowflake Ornament with Silhouette CAMEO
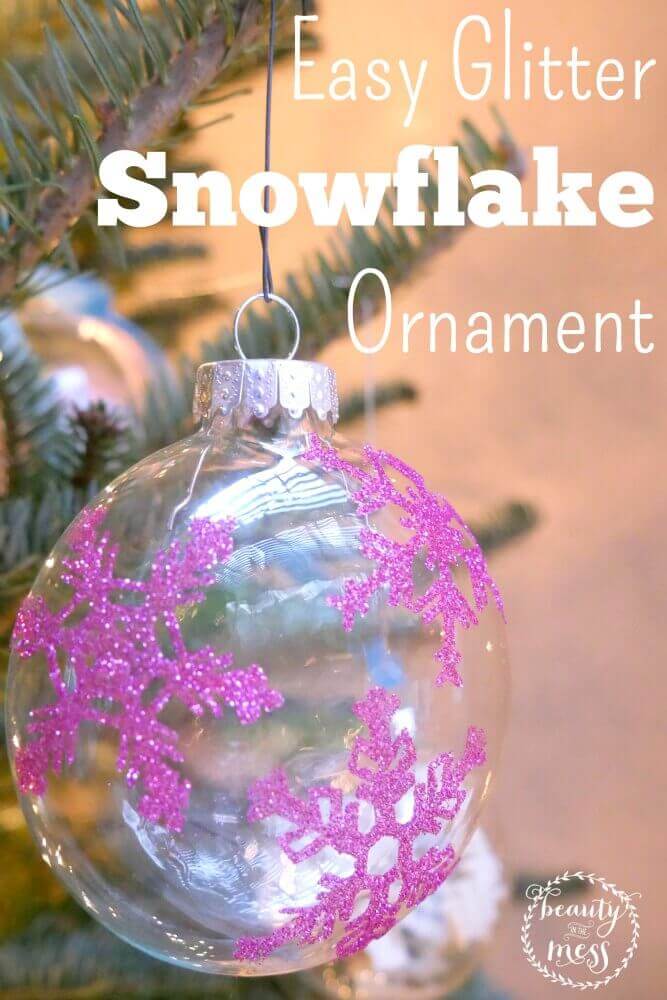
It is easy to create beautiful glitter ornaments like this snowflake ornament with your silhouette CAMEO. Perfect for gifts, gift tags, and ornament swaps.
Crafting is so much better with friends. That’s why I {finally} joined the fun with The Silhouette Challenge Facebook Group. The theme for December was Holidays. Perfect! Scroll down to see the other amazing projects. Affiliate links have been included. I may receive compensation.
STOP spending hours searching for Christmas Ornaments to make with your children on Pinterest!
Here are 30 Red Ted Art readers’ FAVORITE Christmas Ornaments brought together in one book.
These ideas are tried and tested and can be enjoyed by the whole family!
I love my Silhouette CAMEO, but when life gets busy I don’t use it as much as I would like. But sometimes you see something and know that you have to use it for a special project.
When I saw double-sided adhesive sheets from Silhouette, I knew exactly what I wanted to make.
Glitter Ornaments.
Yes. Glitter.
While some crafters loathe glitter, I’m kind of partial. We do have numerous princess dresses in our house. One can always tell when and where the princesses are playing. Just follow the trail of glitter.
Red is always a great color for Christmas, but this raspberry color is BEAUTIFUL in real life.
I will admit that sometimes projects seem really easy but once I get them started, everything takes ten times longer than expected.
I promise this snowflake ornament is a great beginner project as you figure out your Silhouette Cameo.
Easy Glitter Snowflake Ornament
Here is what you need:
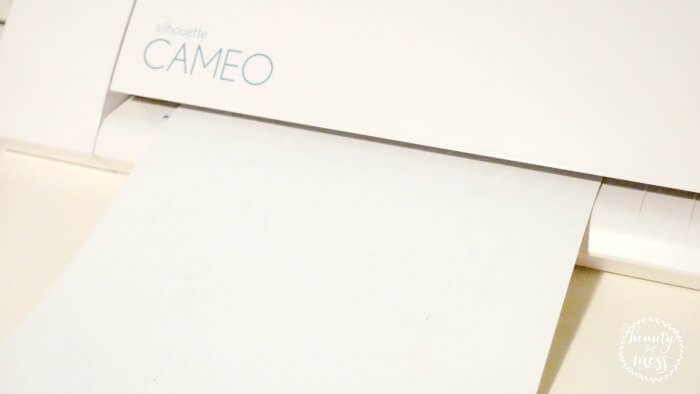
silhouette CAMEO
snowflake design from the Design Store
double-sided adhesive sheets
hook tool for weeding the adhesive sheet
clear plastic or glass disc ornaments
glitter
small plastic tub to contain glitter when applying it to the ornament
Get started
You don’t have to do snowflakes. A monogram would be super special. I was going to do Santa on his sleigh, but I figured snowflakes would be the easiest.
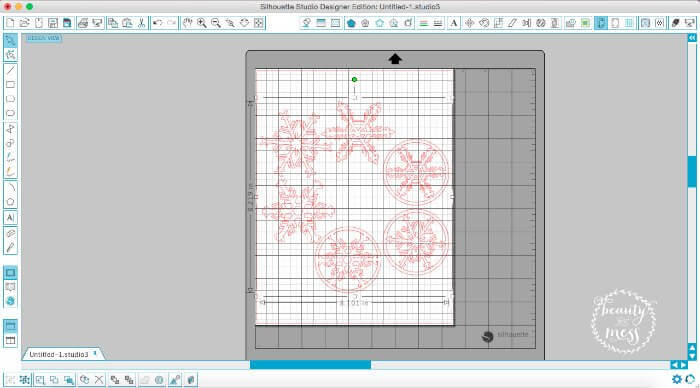
I ungrouped the image and deleted the ones I wasn’t going to use. It sounds a lot harder than it really is.
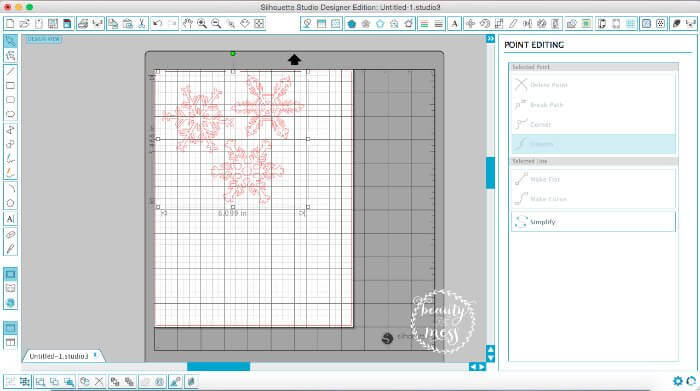
I moved these three snowflakes around a bit until I got the placement that I wanted and grouped them together again.
Then I sized it to fit on the ornament and crossed my fingers that the calculations were correct.
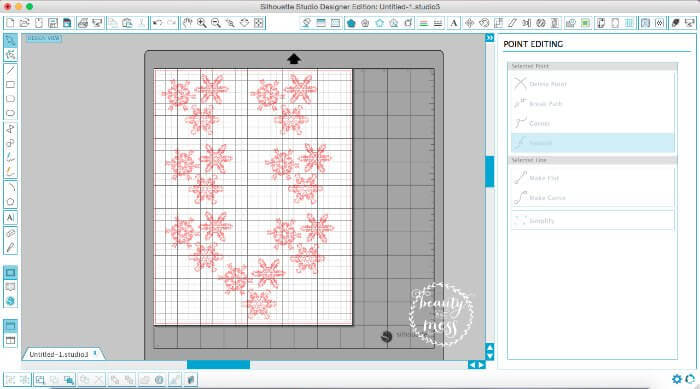
The hardest part of the whole project is getting the snowflakes off the adhesive paper.
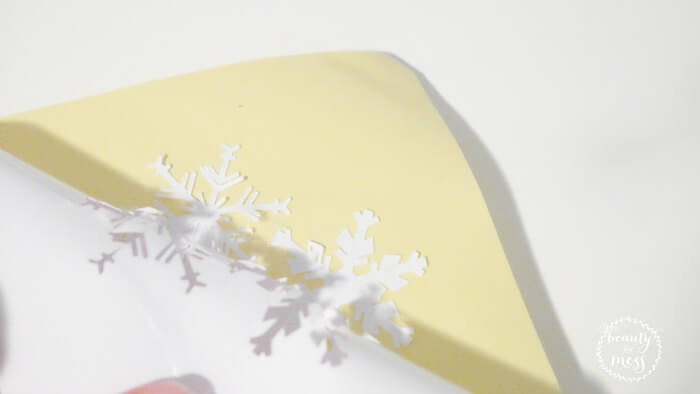
They were actually slightly too large, but that’s fine. I still used the snowflakes. I just placed them on one at a time.
Place the “sticker” where you want it. I placed all the snowflakes at the same time, but you could do one at a time. If you’re going to do different glitters on the same ornament, I would suggest one at a time.
I used a largish plastic container for applying glitter. It’s easier that way for me. Use a small clean paintbrush to brush away the excess glitter.
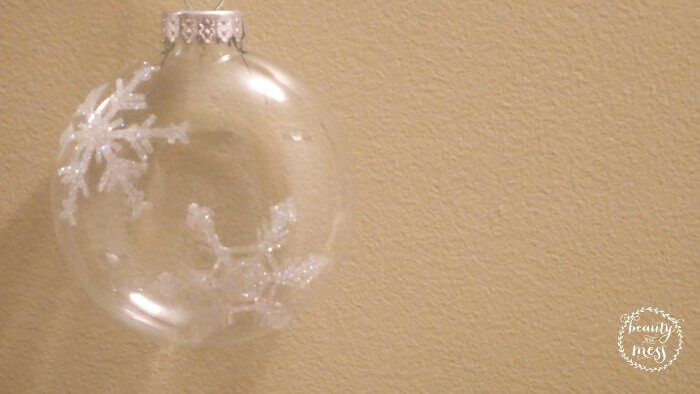
I do LOVE my raspberry glitter ornament, but I also wanted to experiment with white since I was working with a snowflake.
It’s pretty.
I like the raspberry better.
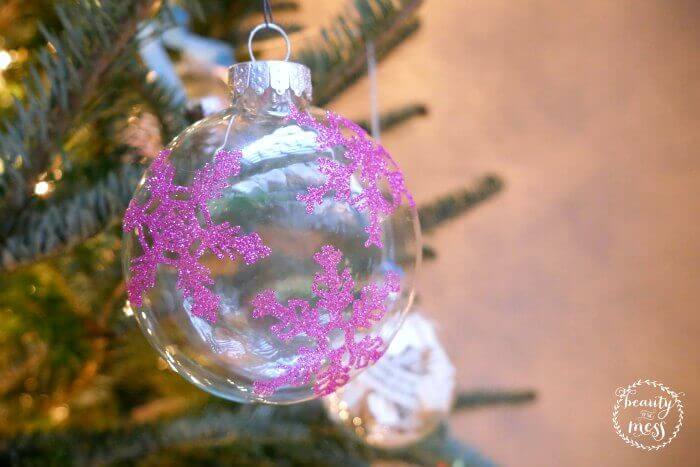
There you have it!
An easy project for your Silhouette CAMEO.
Don’t have a CAMEO? No worries! Here are some great crafty ideas with the Cricut too!


I LOVE the double sided adhesive and glitter! I used them to make my daughter’s valentines last year. Your ornament is awesome!
Cute!! Love the purple! – marni @ HaberdasheryFun
Such a cute idea!!!! Love those those Christmas balls look with the snowflakes!!! LOVE it!
Cute! I’m a big fan of glitter and those double-sided adhesive sheets looks like a fantastic way to use it in unique ways.
#thesilhouettechallenge
I wouldn’t have thought to use the double-sided adhesive on glass balls. Thanks for the idea!
Great project. I’m a big fan of the double sided paper and tapes too. The Christmas balls look fabulous.
This are simple and wonderful. I love them 🙂