How to Make Fabric Pin Boards

This was the easiest craft project I've done in awhile. And that's exactly what I needed.
I don't know about you, but if too much time goes by without crafting, I start to twitch. Okay, maybe not really, but I need to express my creative side somehow. This was the fix I needed.
Our house seems to be in a never ending state of decorating. After five years of living here, we finally painted the walls the colors we wanted. We switched the kid's rooms around, but haven't put anything on the walls. Yet. My husband is taking vacation in the next couple of weeks and it is a stay-cation/honey-do week where I will also (hopefully) get time to write some posts.
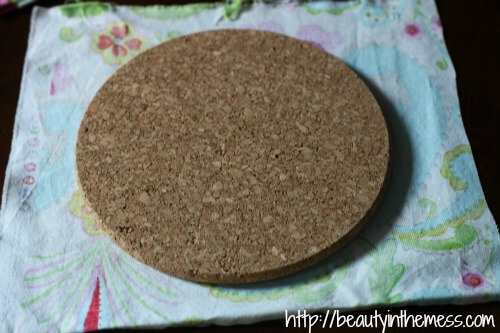
I found some cork trivets at IKEA and put them in the cart because we needed some that didn't have bites taken out of them. But when I got home, I saw the trivets, my fabric scraps, and the glue gun.
Lightbulb moment.
How to Make Fabric Pin Boards
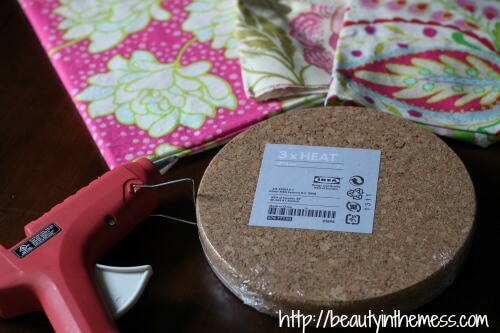
Gather all your supplies:
fabric scraps, glue gun, cork trivets, and scissors
Cut out {or find a scrap piece} of fabric that is large enough to go around the sides and can be glued to the back of the trivet.
 Use the hot glue gun to apply glue all around the edges.
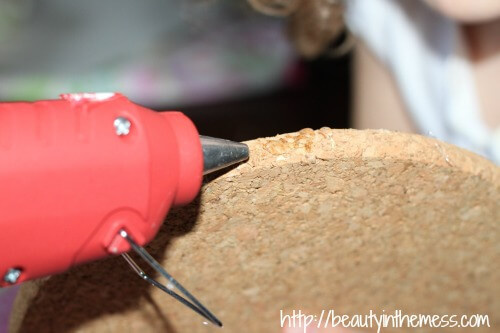
Quickly, pull the fabric up around the trivet before the glue dries. Cut off the excess fabric, and hot glue the edges down. You could also cut out a circle of felt to help secure the edges, but I didn't do that. Maybe before we hang them up.

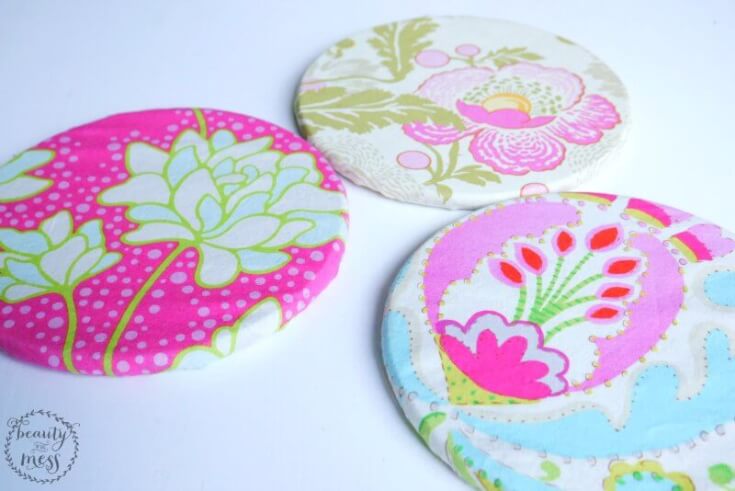
Flip it over. I bet it looks great! Repeat as many times as you want.
It's SO EASY!!
You could also make trivets to match your Kitchen decor. There are so many possibilities!


Pinned this 🙂
This is a lovely idea Whitney. Thanks for sharing, I’m going to give it a spin at home.
Let me know how it goes! It was so simple. I can’t wait to hang them up!