Easy Farmhouse Style Ruler Chalkboard Frame Project You Can Create Yourself
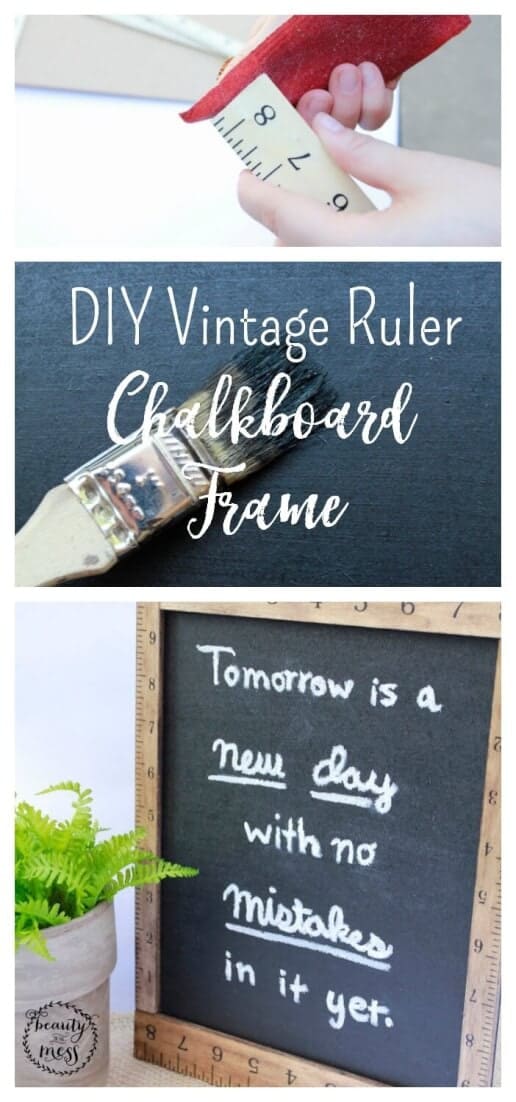
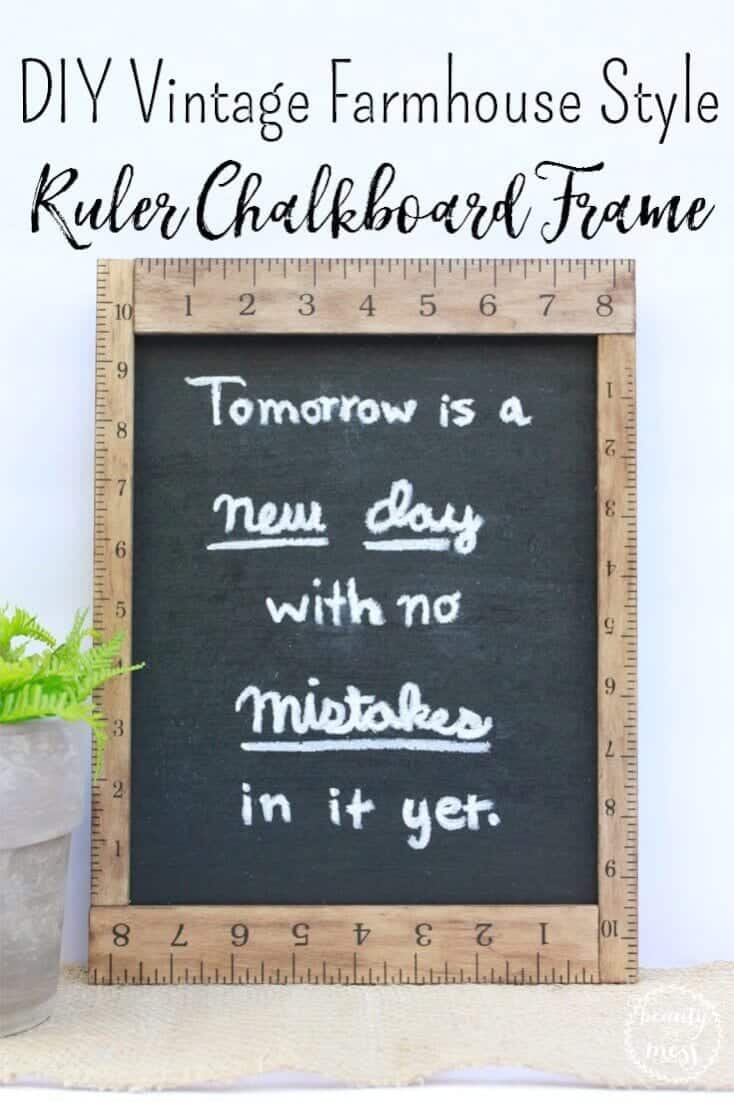
This DIY Vintage Farmhouse Style Ruler Chalkboard Frame is a back-to-school project that can double as year-round home decor.
by Jolene Tang, Contributing Writer
I’ve been out of school for a while now. And I don’t have kids yet. But vintage schoolhouse-themed crafts are totally my thing, mostly because I love embracing my family’s Midwest heritage. My grandmother actually taught in many one-room schoolhouses throughout her teaching career in Nebraska in the 1940s. How cool is that?
So I decided to get into the spirit of things this season by doing a back-to-school project that can double as year-round home decor.
This vintage ruler chalkboard frame would be great as a teacher’s appreciation gift to start off the school year, but it can also work as a farmhouse-style decor item that can bring rustic charm to any room in your home.
Keep reading to see how you can make one of these for yourself!
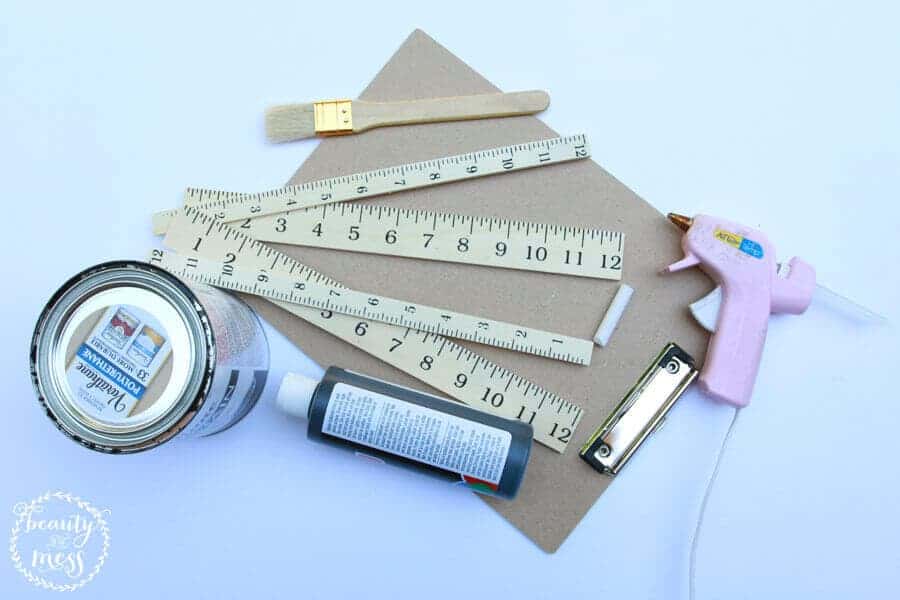
MATERIALS YOU’LL NEED:
- 4 Wooden craft rulers
- 1 Clipboard
- X-Acto knife or saw
- Hot glue gun & hot glue sticks
- Chalkboard paint
- Wood stain
- Paint brushes
- Rags or paper towels
- Chalk or chalk marker
Most of these things I already had at home, so in total I spent just under five dollars for this project!
HOW TO MAKE A DIY RULER CHALKBOARD FRAME
STEP 1: Cut the Rulers to Size
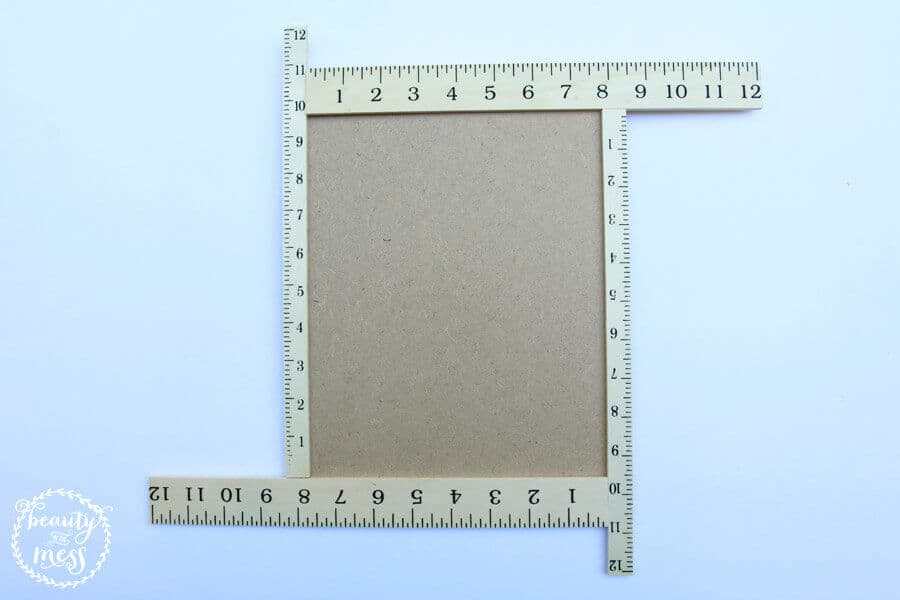
The first thing you’ll need to do is arrange each of the rulers on the back of the clipboard and mark off where you need to cut them.
Most craft rulers can be cut with an X-Acto knife because they’re made out of soft wood. But if you own a saw, you can definitely use it for this step too.
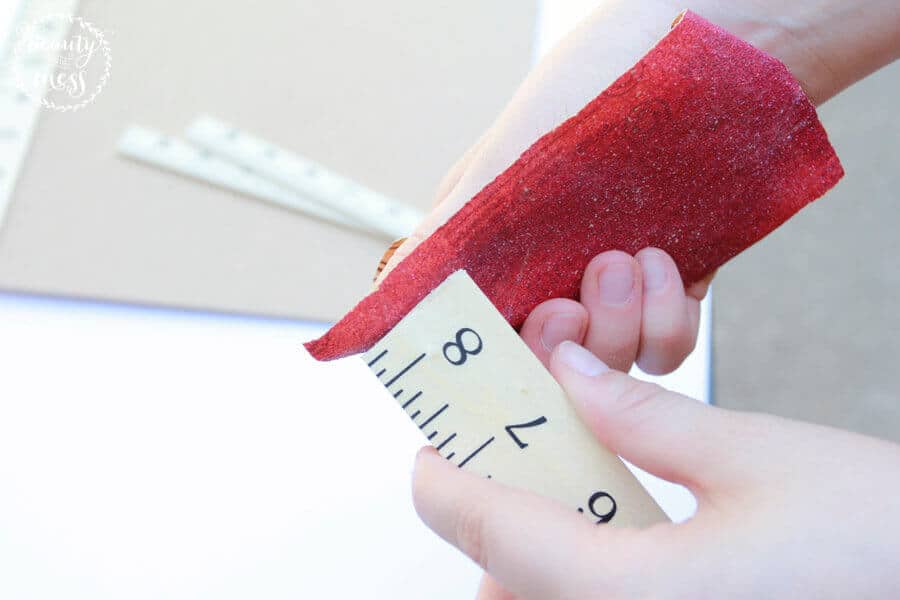
You may want to sand the end of your rulers after cutting them to make sure they don’t have any rough edges.
Before you move on, lay the rulers on the clipboard again to make sure they fit and that you don’t need to make any more cuts.
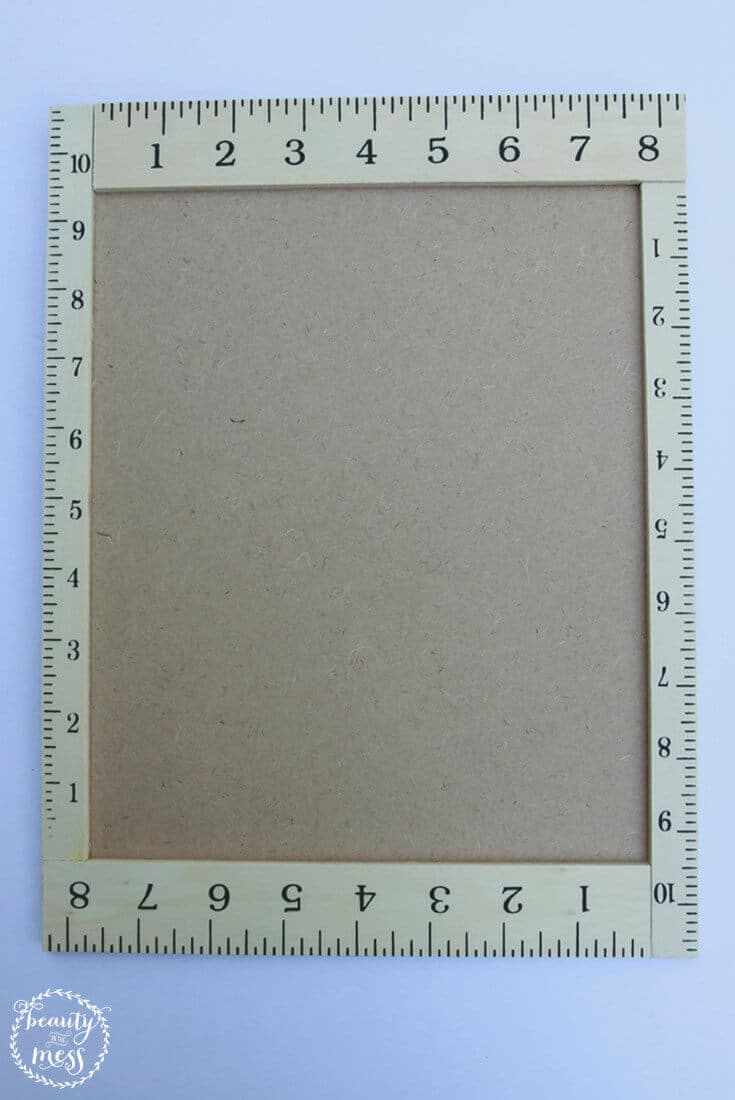
STEP 2: Stain and “Age” the Rulers
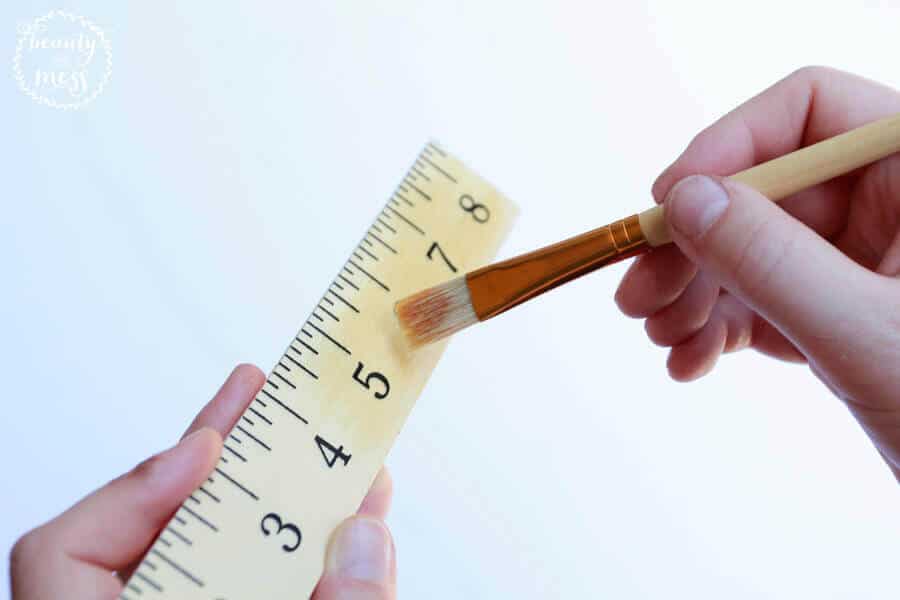
Because I didn’t have a medium brown wood stain on hand, I opted to use two stains I already owned to get the effect I was going for. One is a very light stain, and one is a dark brown stain that would have been too dark if used on its own.
I first painted the light stain onto the rulers with a small paintbrush.
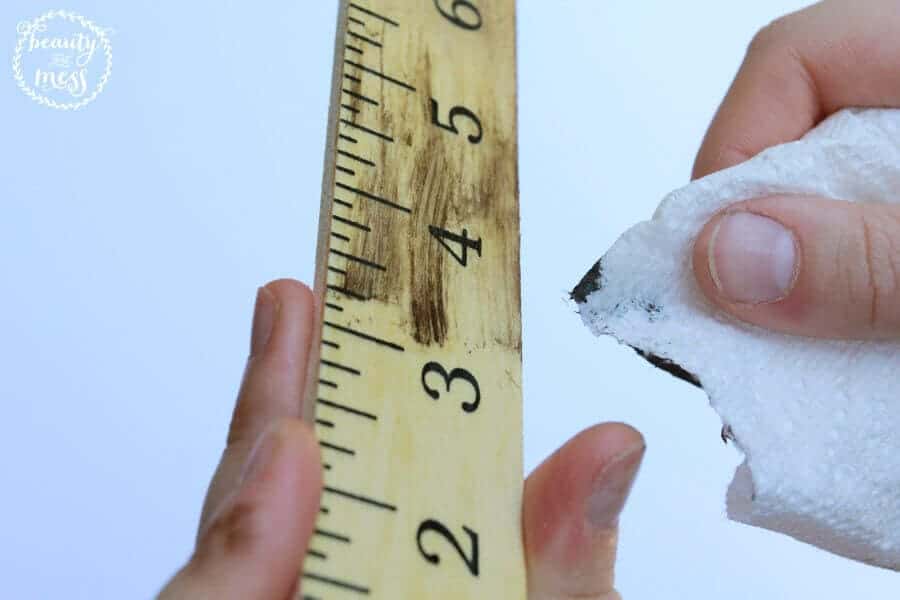
Then, before it was dry, I wiped on a bit of the dark stain with a damp paper towel.
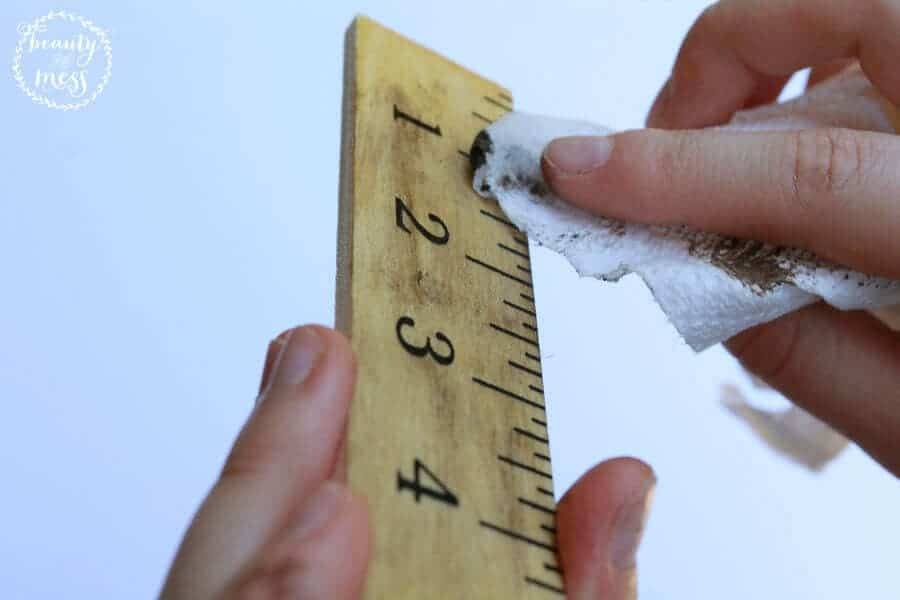
And finally, I rubbed the stain onto the ruler to blend it in. Don’t forget to do the sides of each ruler as well since they will be visible in the finished product.
STEP 3: Paint Back of the Clipboard With Chalkboard Paint
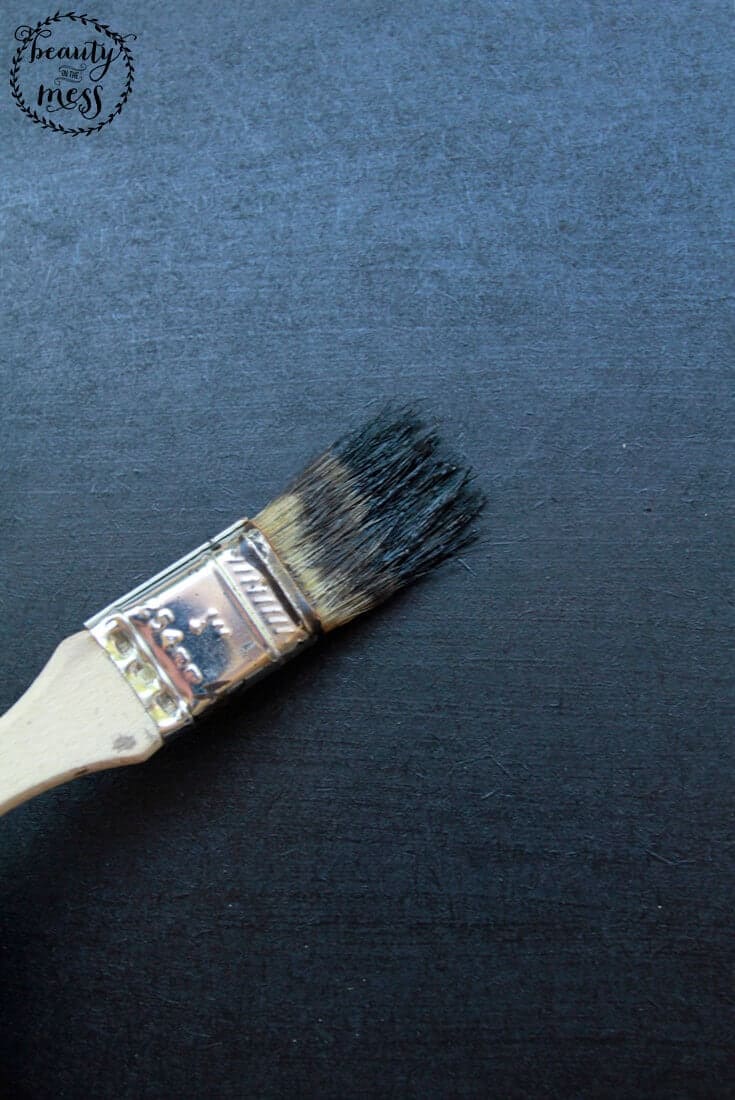
Using a standard paintbrush, I next painted three layers of chalkboard paint onto the back side of the clipboard.
I waited about ten minutes between each layer just to make sure they were fully dry.
STEP 4: Hot Glue Rulers to the Clipboard to Make the Frame
Now that your rulers are stained and your clipboard has been painted, it’s time to glue down the rulers!
Make sure they are lined up with each other before you start, and then simply glue them down one at a time.
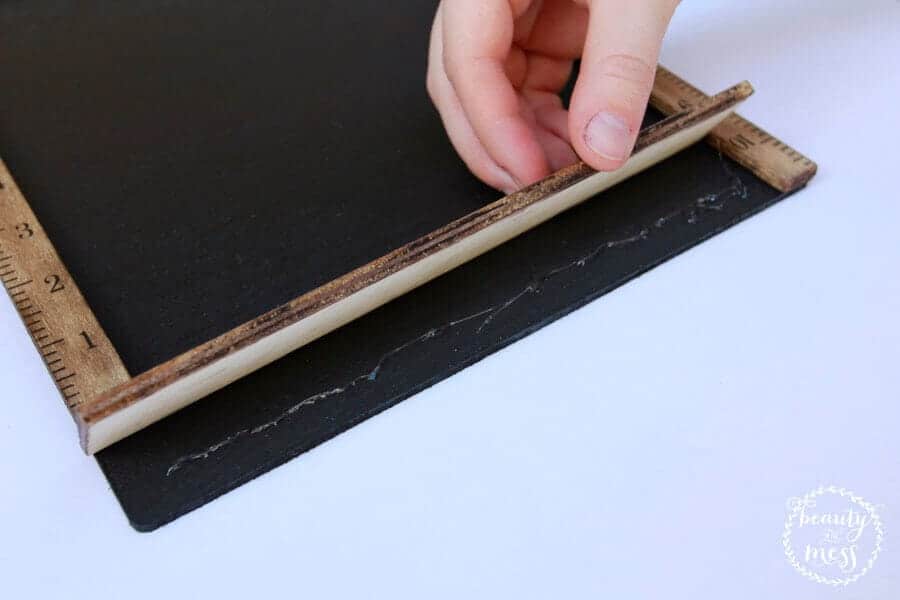
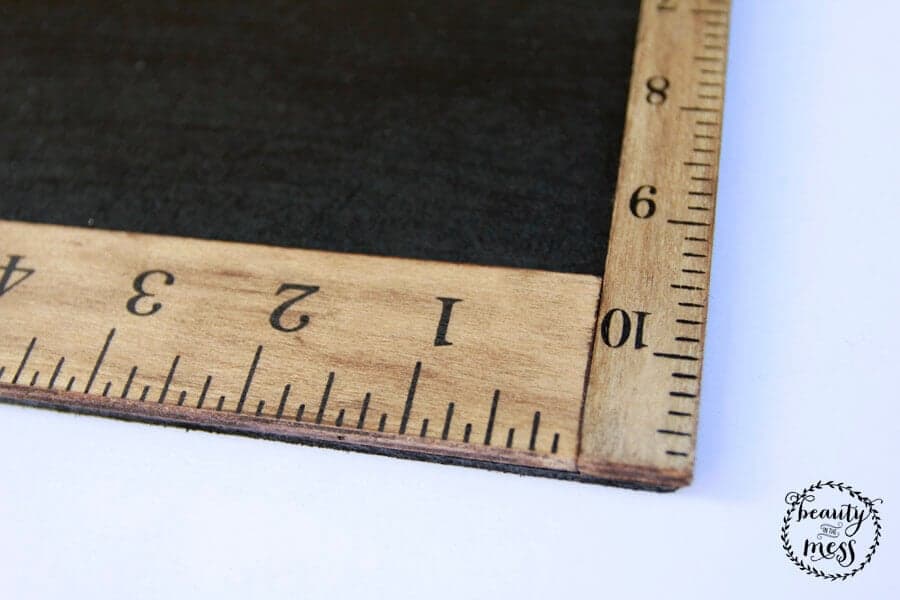
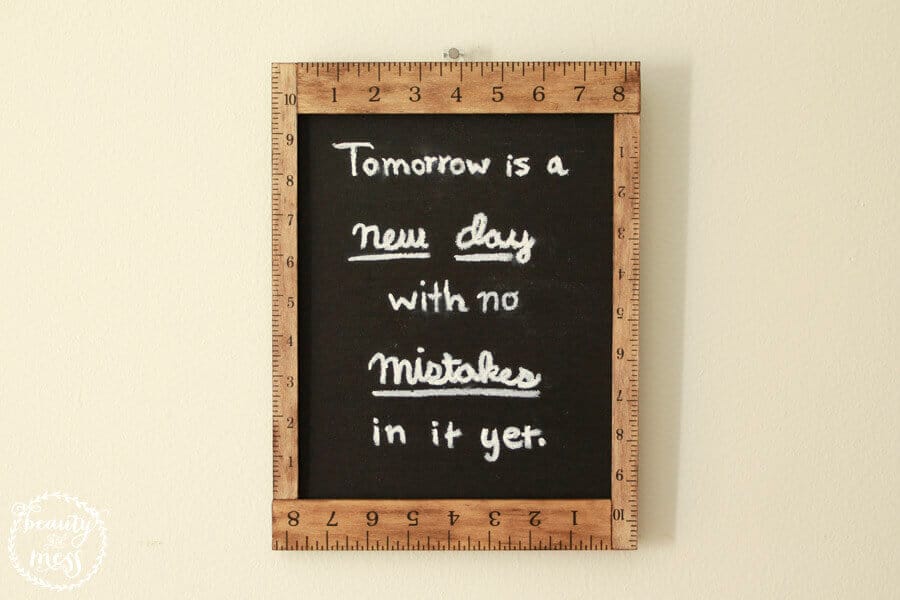
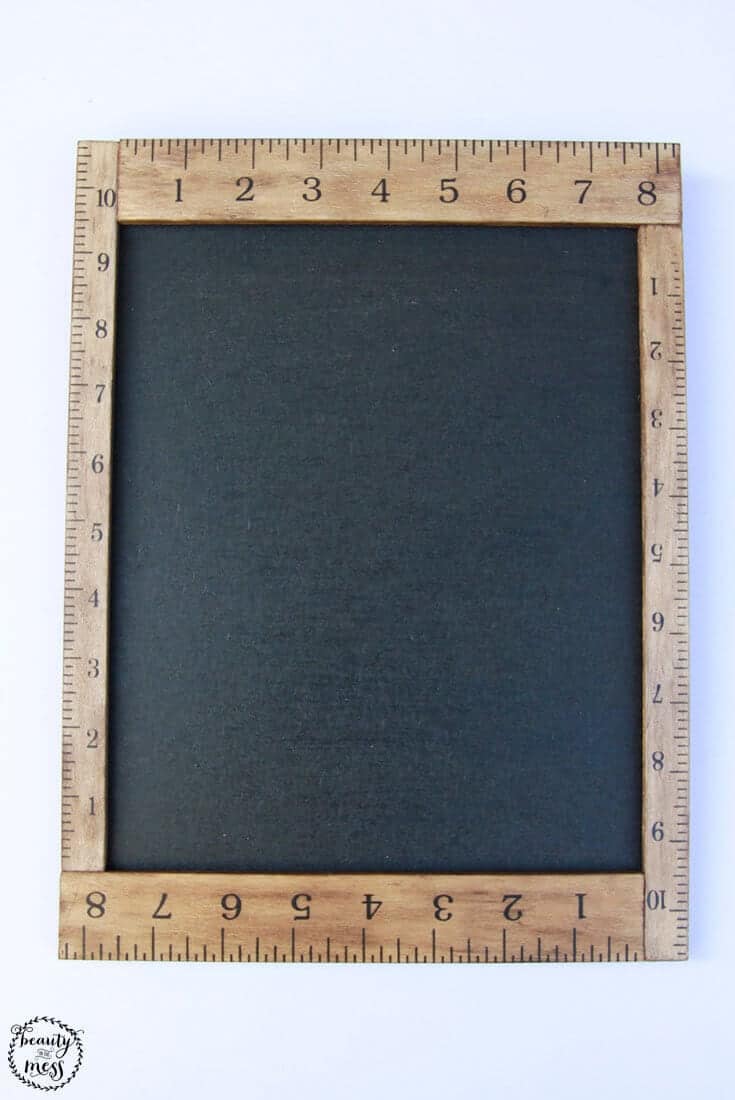
This is what it should look like when you are done!
STEP 5: Decorate!
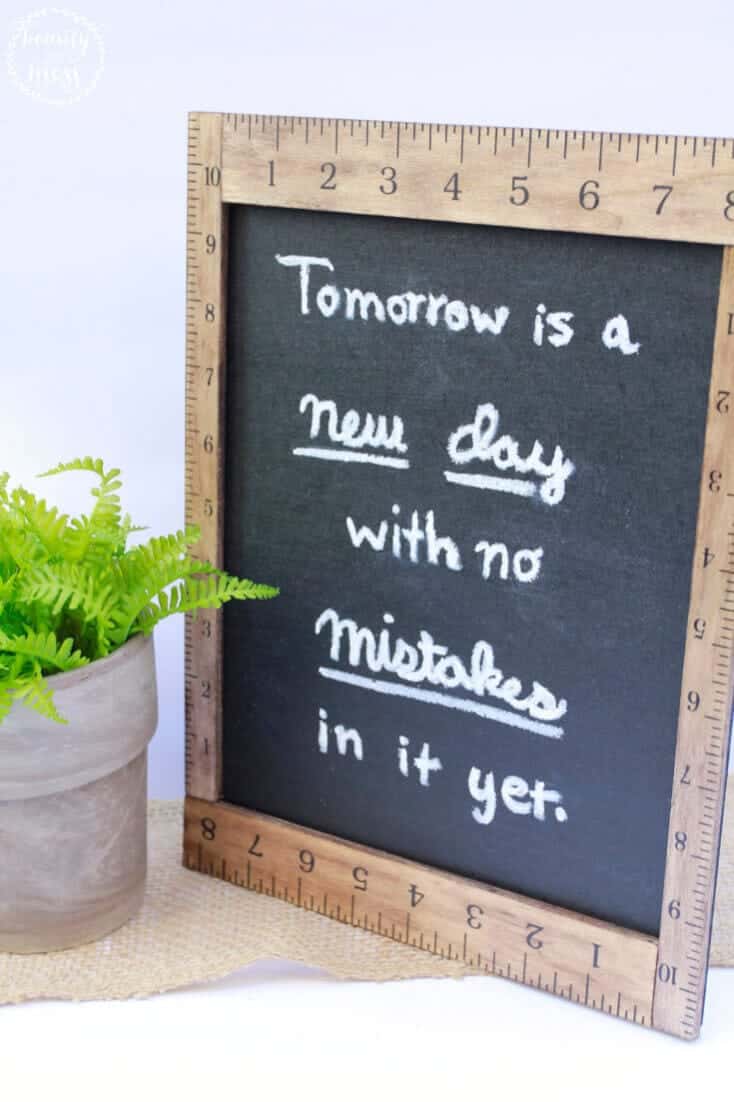
Get out your chalk (or chalk marker), and decorate your new chalkboard frame!
I chose to write out one of my favorite quotes from the Anne of Green Gables book series: “Tomorrow is a new day with no mistakes in it yet.”
Whatever you decide to put on your frame, all you need to do to clean the chalkboard is wipe the chalk off with a damp paper towel and it will be as good as new.
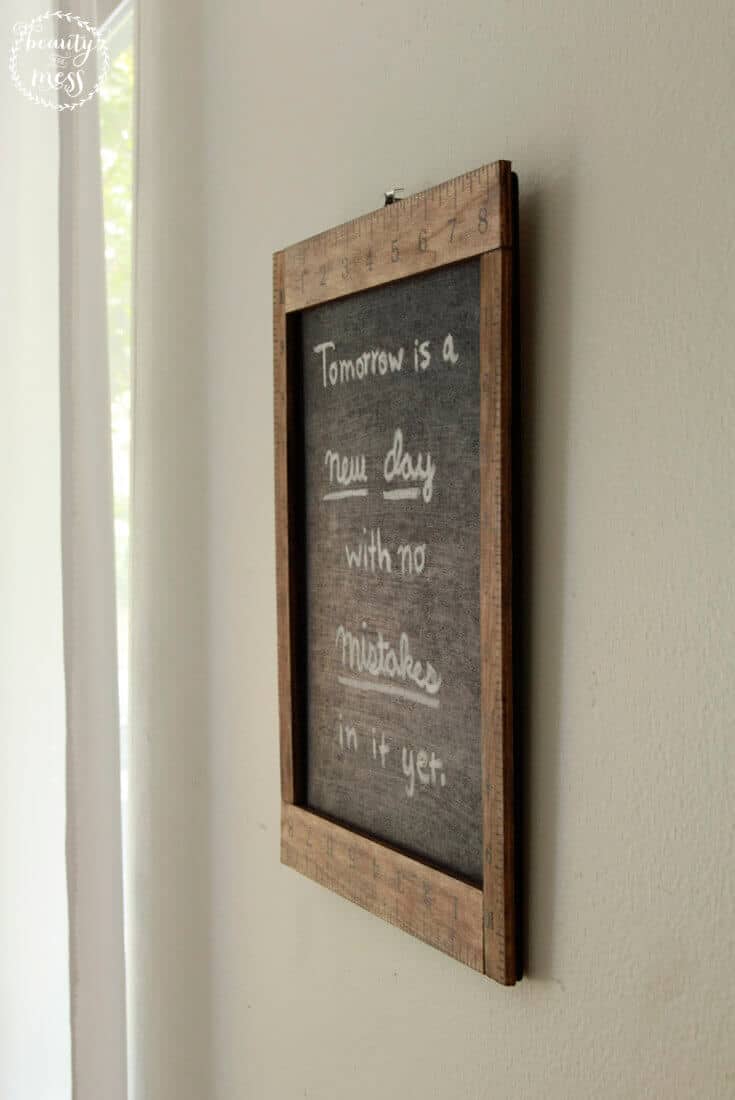
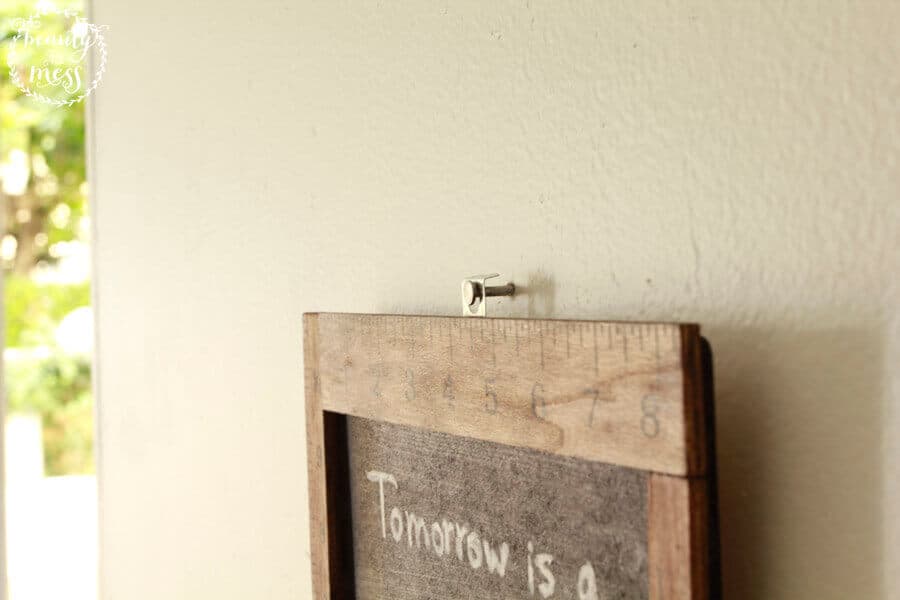
Oh, and one of the best parts about using a clipboard for this project is that mine already came with a metal hook for hanging!
All I had to do was stick a nail in the wall and it was ready to go.
This part is totally optional though, since I think this frame would also look wonderful on a bookshelf.
As I mentioned earlier, this project can be made for less than five dollars! And I could not be happier with how amazing it looks in my living room.
If you want to see more farmhouse-style projects that I’ve done, you can find them here.
Create rustic charm in your home with our Easy Farmhouse Style Ruler Chalkboard Frame Project – a DIY delight that’s perfect for all crafters!
Embrace the timeless appeal of farmhouse decor by transforming a simple wooden frame into a vintage-inspired chalkboard, complete with ruler markings for that authentic farmhouse touch.
Let your creativity flow as you personalize it with quotes, notes, or daily reminders using chalk or chalk markers. This farmhouse ruler chalkboard frame not only adds character to any room but also serves as a functional and stylish organizational tool.
Get ready to impress guests with your handmade masterpiece and bask in the satisfaction of creating a farmhouse gem yourself!
Do It Yourself Projects
Create a Command Center to help you get organized.
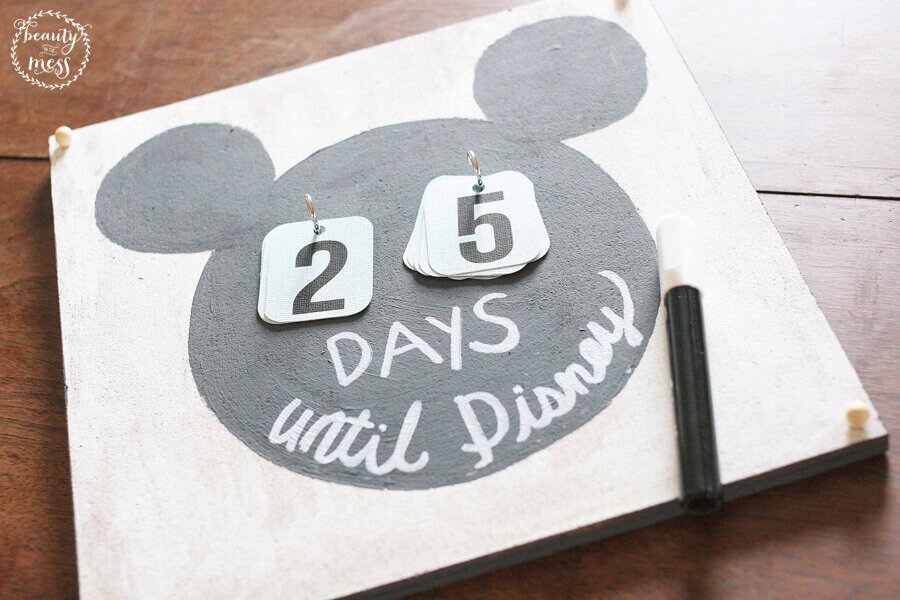
Have a Disney vacation planned? You will love this easy Disney Countdown Calendar.
DO YOU HAVE A FAVORITE QUOTE THAT YOU’D PUT ON THIS FRAME?

Jolene is a wife, DIY addict & cat lover who writes from her home in Los Angeles. She adores everything historical & vintage, and could happily wander through a used book store for hours without even buying anything. Grab a cup of tea & feel free to visit her blog, which features unique home decor ideas, DIY project tutorials, and tips on budget living.


I love love love this project! I really need to check if we have these craft rulers in Germany. I haven’t seen them before. I do have the paint, stain, saw and chalk. I’ll be getting a clip board and then it’s time to craft. Whoot Whoot