Easy DIY Mickey Mouse Autograph Shirt For Your Disney Vacation
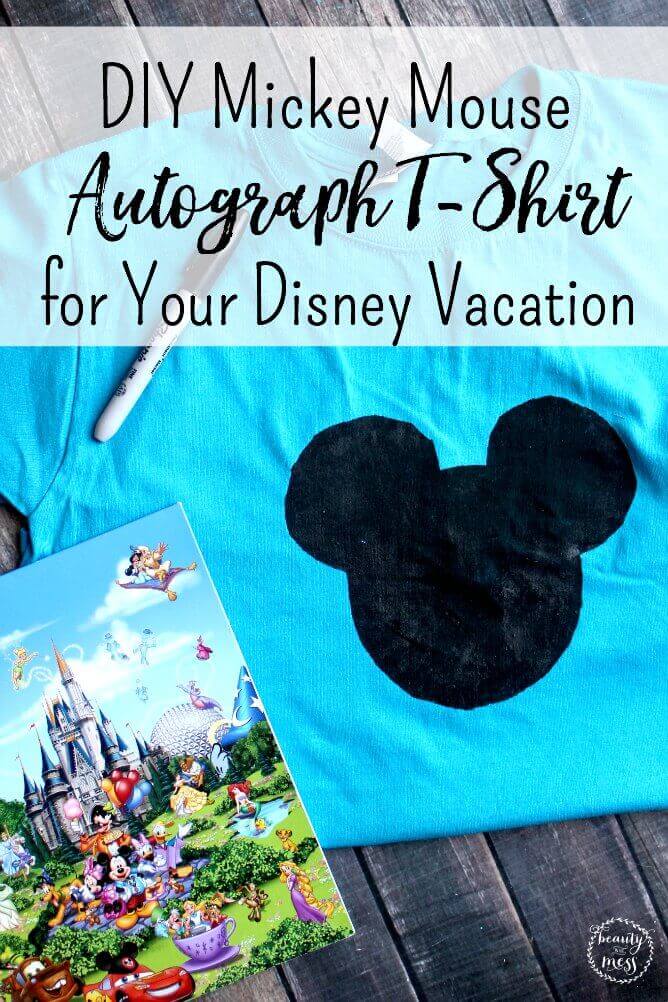
Want an autograph book alternative? Try this DIY Mickey Mouse Autograph Shirt (affiliate link) for Your Next Disney Vacation. You can make one for each family member.
We are no strangers to the magic and lure of Walt Disney World.
There is something about Mickey-shaped food, silly ears, and bright friendly characters that just transports you to a new world. Part of the fun of the park is getting pictures and autographs with the characters so I thought it would be fun to make DIY Mickey Mouse Autograph shirts for our next trip. I had to share it with you in case you liked the idea too and wanted to make your own. Affiliate links have been used in this post.
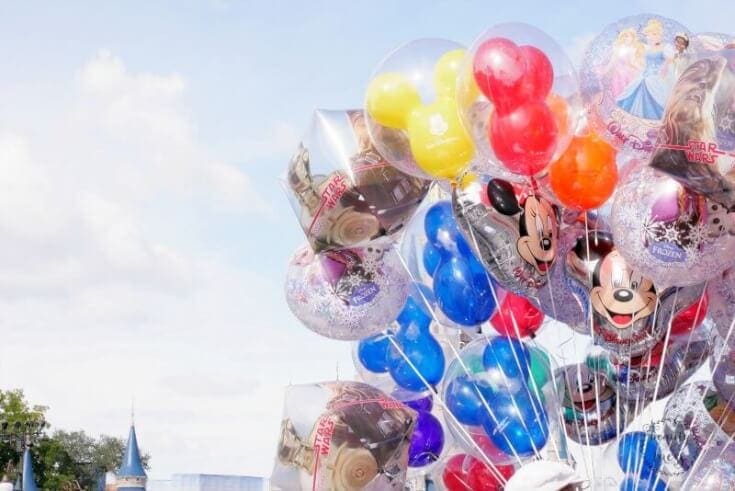
Enjoy your next trip to Disney with your custom-made shirts for the whole family!
DIY Mickey Mouse Autograph Shirt
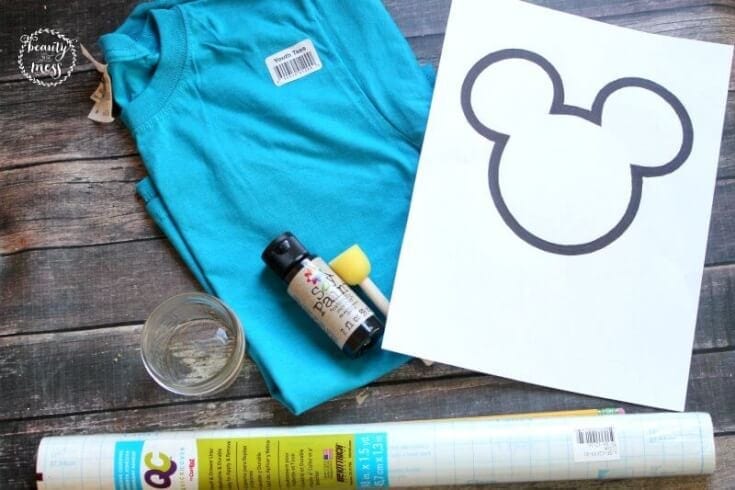
Supplies Needed:
1 t-shirt
Directions:
1. Find a Mickey head or full-body silhouette you like by searching “Mickey Silhouette” on Swagbucks and print it out.
{SIDENOTE: I used Swagbucks to earn points and redeemed them for Walmart gift cards, which I then used to purchase Disney Gift Cards to pay for tickets, which made them FREE!!}
2. Trace the silhouette Mickey head onto clear contact paper with your sharpie.
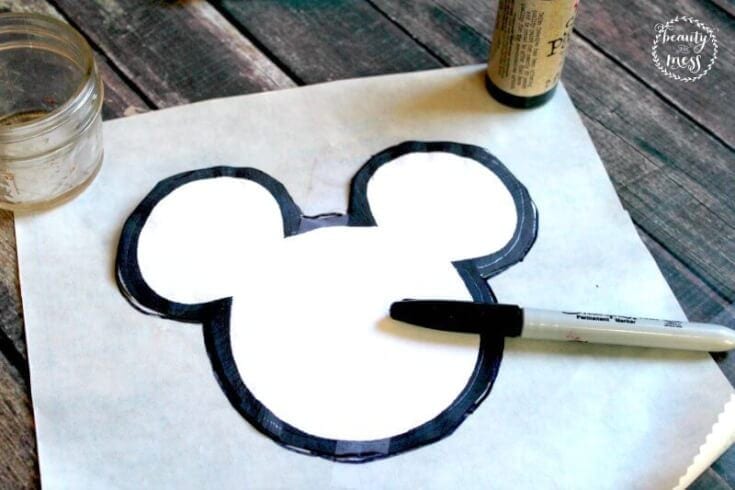
3. Cut silhouette out of contact paper, leaving a large square around it to protect the shirt (affiliate link).
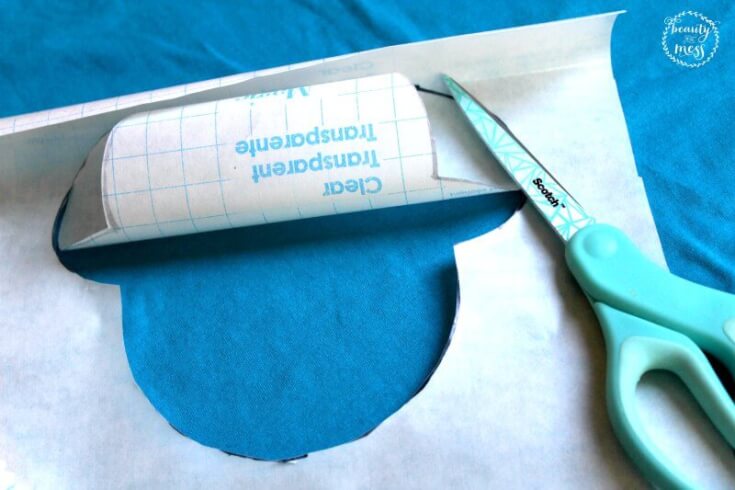
4. Press the stencil firmly onto the center of the shirt (affiliate link), making sure to double-check the edges to get a clean line.
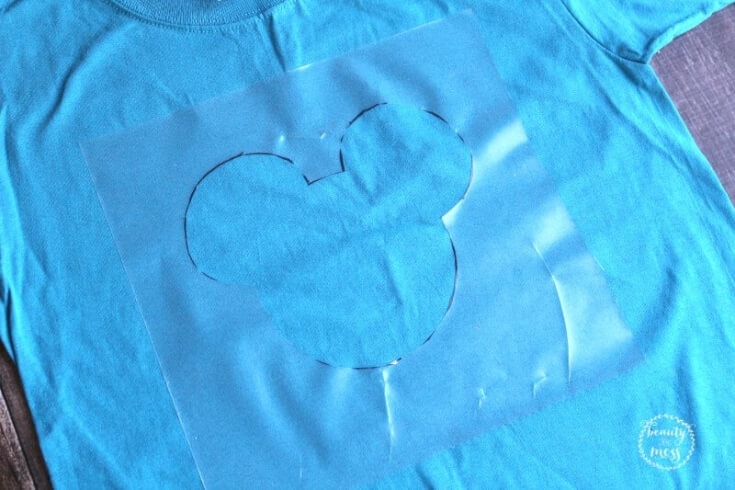
5. Place a piece of cardboard inside the shirt to protect the back from leakage.
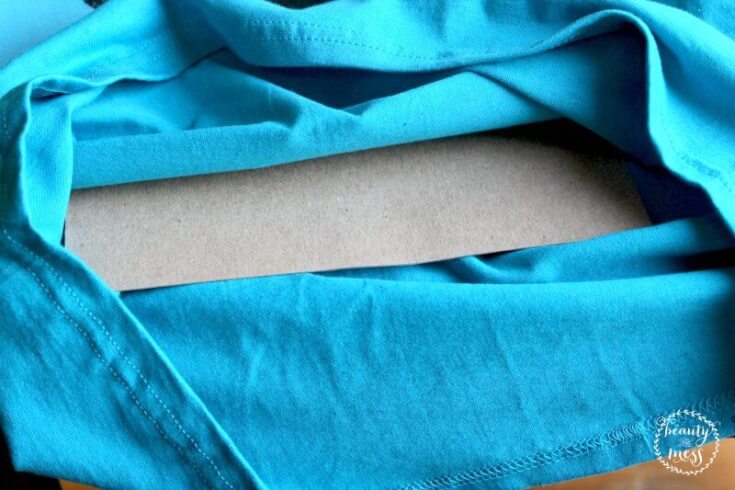
6. Using a round stencil dauber gently stamp black all the way around the edge of your stencil then fill in the inside.
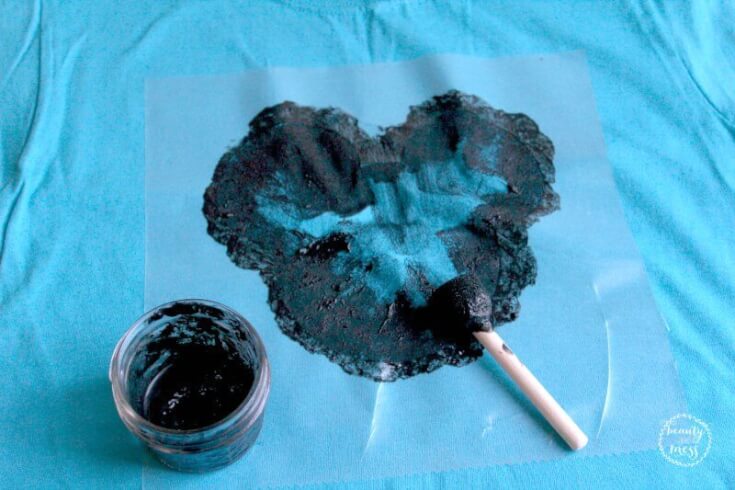
7. Allow to dry, add a bit more paint if needed to fill in lighter spots.
8. Carefully peel off the contact paper stencil.
9. Once your shirt is completely dry toss it in the dryer, inside out, to set the paint.
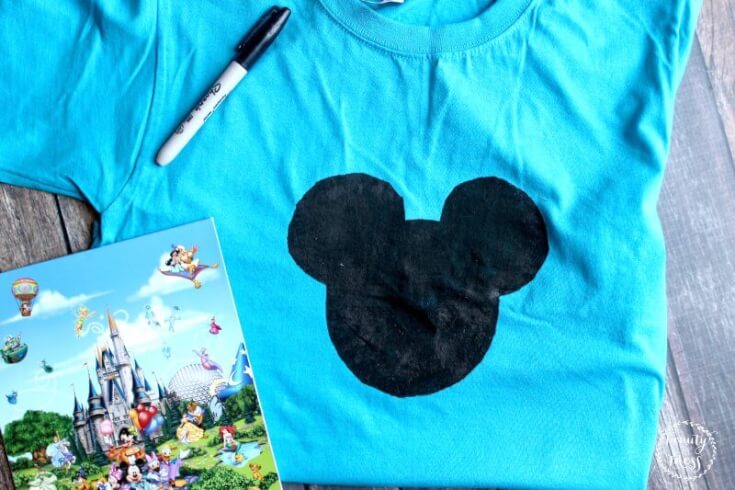
You can use the same process to make any Disney silhouette shirt you like, don’t forget to take a couple of Sharpies with you to the park to get the character signatures!
Don’t want to wear a t-shirt? Use a pillowcase! For more ideas, check out these Autograph Book Alternatives.
